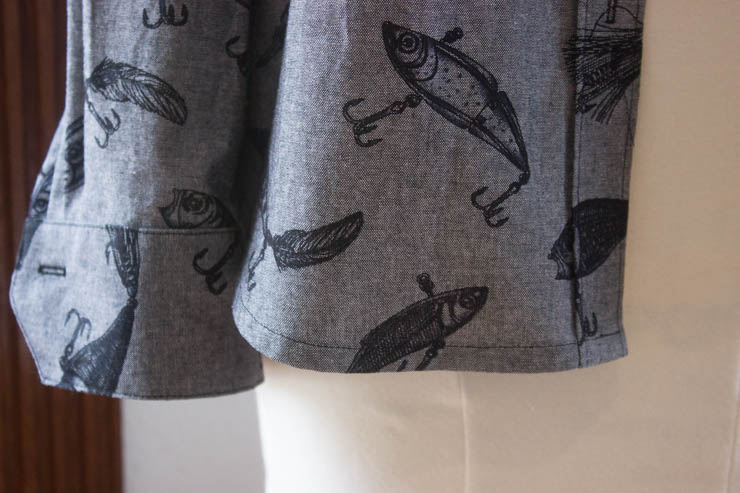
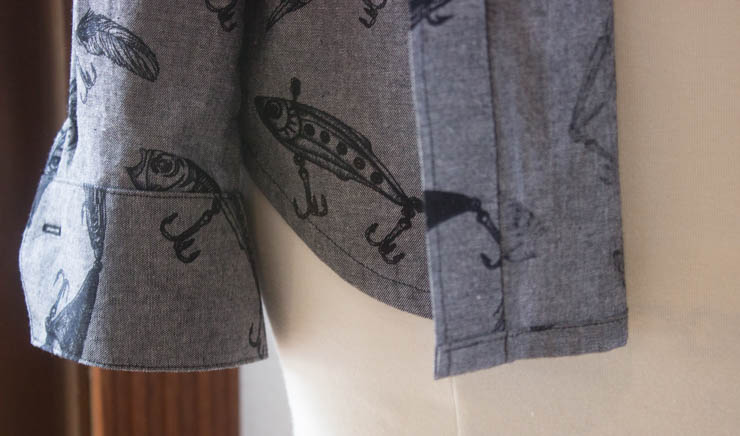
I know it’s unbelievable, but we are finally at the final step of the Archer Sew-Along—the hem! And of course, I can’t show you just a single method to hem a shirt.
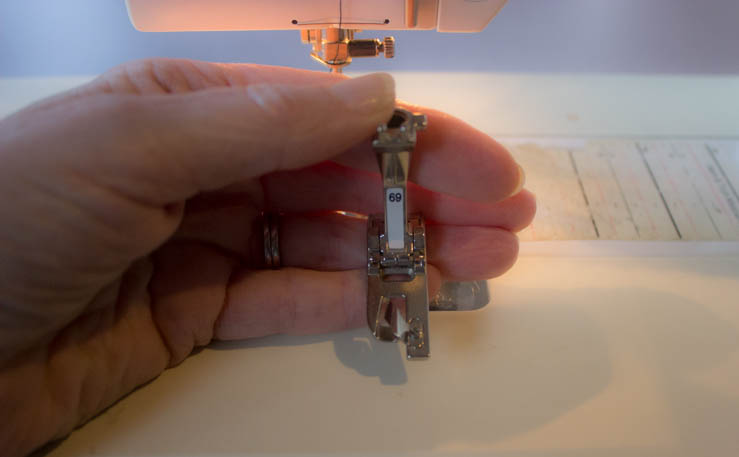
Let’s start with the press-and-turn-twice method. This is the way I normally hem shirts when I am sewing on my Bernina 710, possibly only because I haven’t gotten around to buying a rolled hem foot for this machine. Which means you don’t need a special foot to hem your shirt.
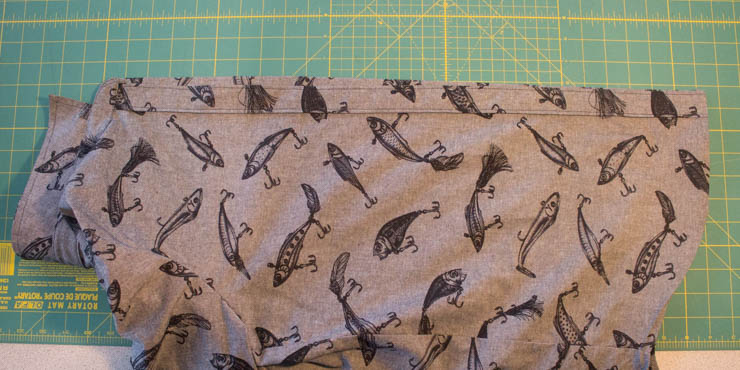
1. Start by making sure your plackets are the same length. If not, trim the longer one so they are even. (Duh!)
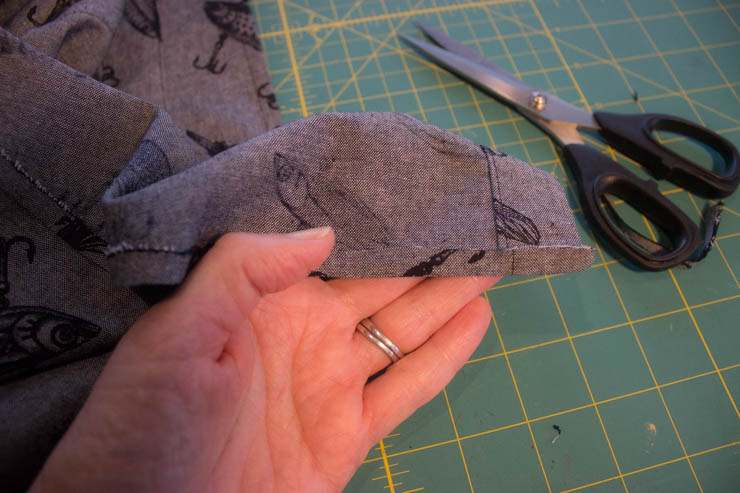
2. Press the hem edge of the shirt tail to the wrong side, about 1/4 inch..
3. Turn and press the hem a second time. (Hint: Doesn’t hurt to double-check again that the plackets are even.)
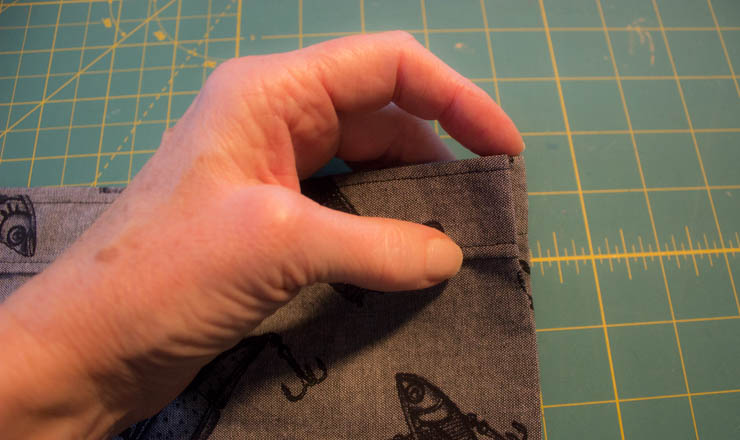
4. Stitch close to the upper edge of the hem, backstitching at both ends. I usually use the edgestitch foot for this job, because the shirttail curve is gentle enough the edgestitch foot can still handle the job.
One of the other reasons I like this method is because it give a bit more weight to the hem, and it hangs a little nicer. If you always tuck your shirts in that doesn’t matter a whit, but I do <slightly> prefer it on shirts that are worn over bottoms.
OK, now let’s try it with a rolled hem foot, which admittedly is a bit faster and easier. If you have a rolled hem foot, that is.
1. Check the placket lengths just as above in the press-and-turn-twice method above.

2. Do not even think about trying to start hemming at the beginning of the shirt using the rolled edge thingey on the foot. Turn a narrow hem twice and pin in place.
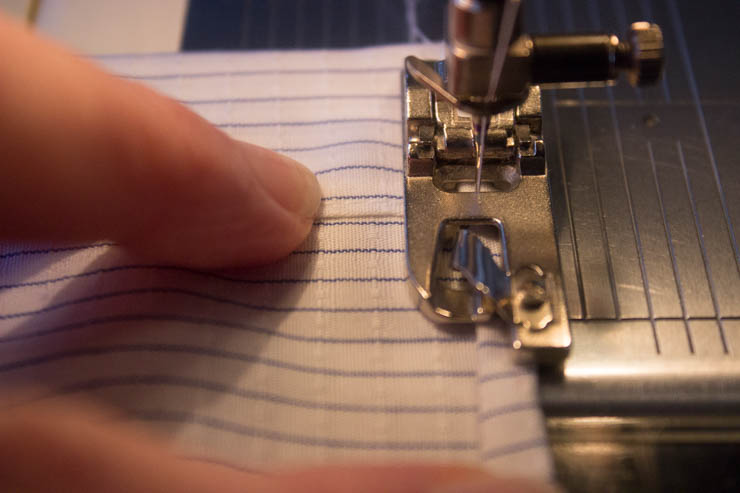
3. Backstitch for a few stitches, and then stitch forward for an inch or so. Notice there is no fabric yet in the rolled edge thingey.
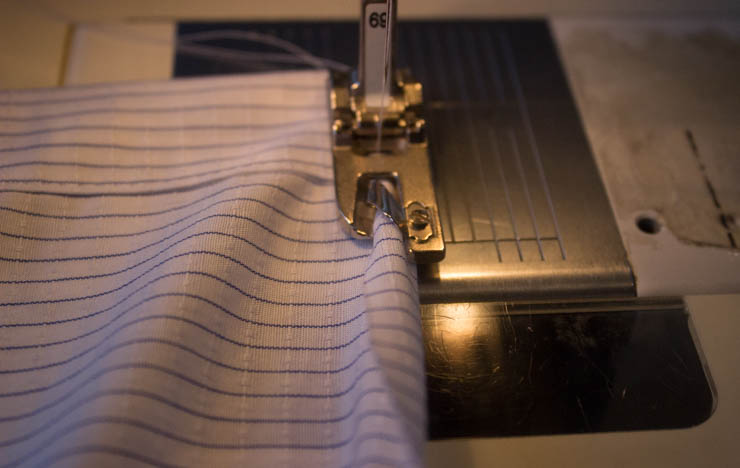
4. Stop with the needle down, and then lift the hem edge up and into the rolled hem foot and continue stitching. Notice the fabric is now rolled into and under the rolled edge thingey. (How did I get a pix with my needle up?!?)
5. Continue around the entire hem, maintaining an even amount of fabric in the foot.
Note: A potential trouble area with this method is stitching over the side seams; getting the fabric to feed nicely and actually progress over the bulk can be tricky. Press the side seams before stitching so they are as flat and smooth as possible, and pull gently from behind to keep the fabric moving. Go slowly and show that shirt who is the boss! 😉
Whew, we made it to the end. Admittedly, it took WAYa bit longer than planned, but my life was seriously over-complicated this fall. Regardless, kudos to all who finished this project, and here’s hoping you make many, many more Archers. I made 3 for this sew-along alone!
And don’t forget you might be the lucky FREE PATTERN winner of the Sew Maris Archer Sew-Along. We all need more patterns, right? Post pictures of your completed Archer to the  Sew Maris Archer FB group to be entered to win a FREE pattern from Grainline Studio! Deadline for posting your pictures to be entered for the pattern give-away will be midnight January, 18th, 2015. And mucho thanks to Jen for the pattern!
Happy sewing!
Maris