Does adding the buttonholes to a shirt make you anxious? For me it is one of the “no-brainer” parts of shirt-making. I have to confess tho I think that may be due at least in part to my amazing Bernina 710 sewing machine. Regardless, buttonholes should not be considered too tough no matter what sewing machine you use.
A couple of “rules” before stitching buttonholes.
- Interfacing is key to stabilizing the fabric. Don’t even think about trying to stitch a buttonhole on a shirt without interfacing. (BTW, a layer of the same shirting as the garment can qualify as interfacing) .
- Adding a layer of water soluble stabilizer on the top and bottom of your shirt will provide even more stability.
- Mark your buttonholes as required by your buttonhole foot; some feet start at the “bottom” end and traverse “up” to the beginning of the buttonhole, and others start at the beginning and traverse to the “bottom” end. It won’t do you any good to mark only the beginning of the buttonhole if your machine stitches from the “bottom up”. You will also need to mark the beginning and the end of your buttonhole if your machine only makes a “manual” (i.e. no auto-calculation of buttonhole length) buttonhole.
- Make a sample. It is important to make a  sample buttonhole. Have I mentioned that a sample buttonhole will prevent many problems? 😉 And be sure to cut it open and see if the button fits. If you have a “bottom up” buttonhole foot use the sample to identify the ending point of the buttonhole. Well, the final sample that is actually the correct size, that is. 😉
- If your machine allows you to adjust the stitch length of your buttonhole, consider lengthening the default setting slightly. A little less thread build-up will produce a smoother, more RTW-looking buttonhole. Of course, your sample buttonhole will tell you whether you like this change or not. 😉 It is definitely optional.
OK, let’s get to the good stuff.
On the front placket and collar stand of a shirt, start by marking the center front line. (For cuffs I just measure the distance from the top and side edge of the cuff.)

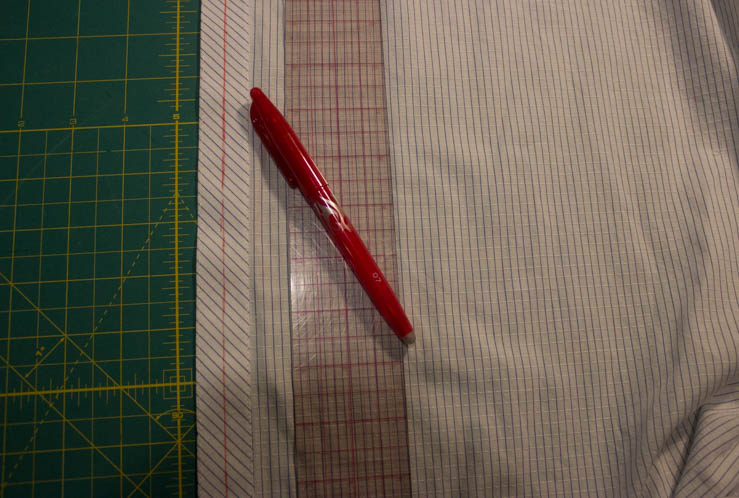
Next mark the top edge of the buttonhole. Make this line wide. I mark almost all the way across the front placket so I can really see this line when the shirt is actually under my buttonhole foot. If your sewing machines stitches buttonholes “bottom up”, also draw the end point. Now, how could you possibly do this without a sample buttonhole, eh? 😉

If your shirt fabric is lightweight, and/or your interfacing is lightweight, add a piece of water soluble stabilizer on top and underneath the buttonhole marking. Call it extra insurance. I rarely use this product when making a shirt with very crisp fabric and Pro-Woven Shirt Crisp interfacing, but trust me—if you are having trouble with your sample buttonholes this product may help immensely.
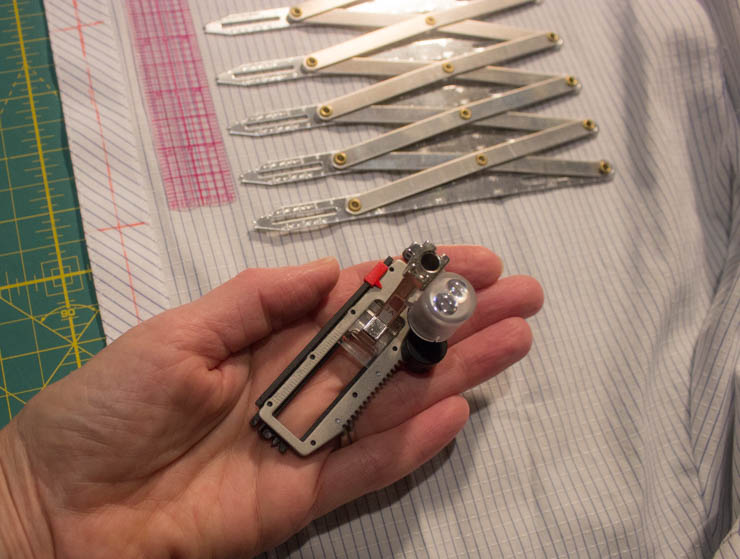
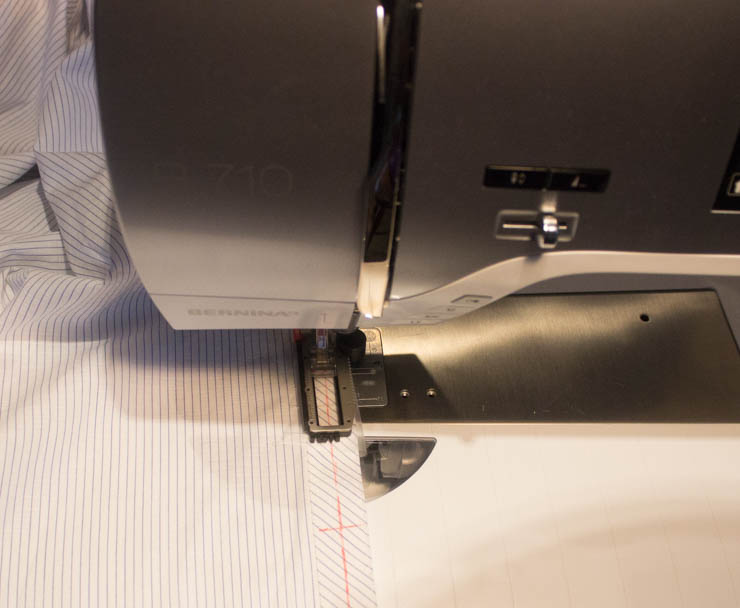
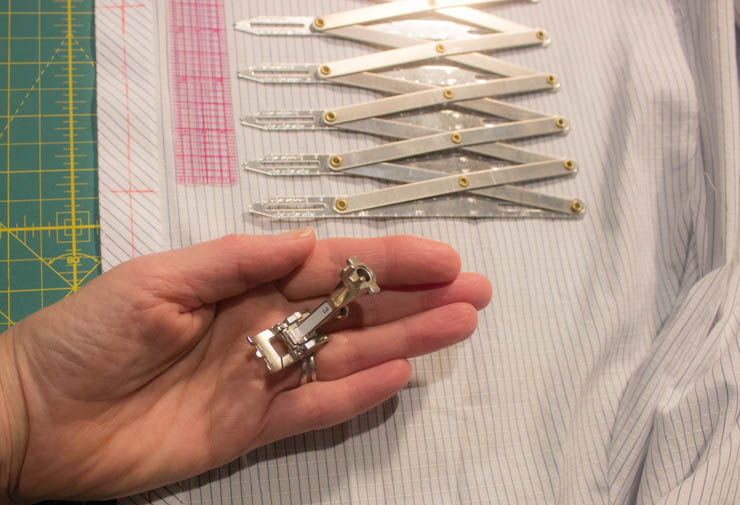
If your sewing machine has a buttonhole foot with an “eye” that electronically reads the buttonhole like the one shown above, AND you have made a sample and verified all the settings you want to use for your buttonhole (stitch length+buttonhole length+distance between the 2 rows of zig-zag stitching), um, all the hard work is done. Just position your machine at the top buttonhole mark, and step on the gas. Honestly, it takes me longer to set up for making buttonholes than it does to actually stitch them on the shirt with my Bernina 710. I do have a step-by-step buttonhole tute for this type of buttonhole foot if you want even more deets.
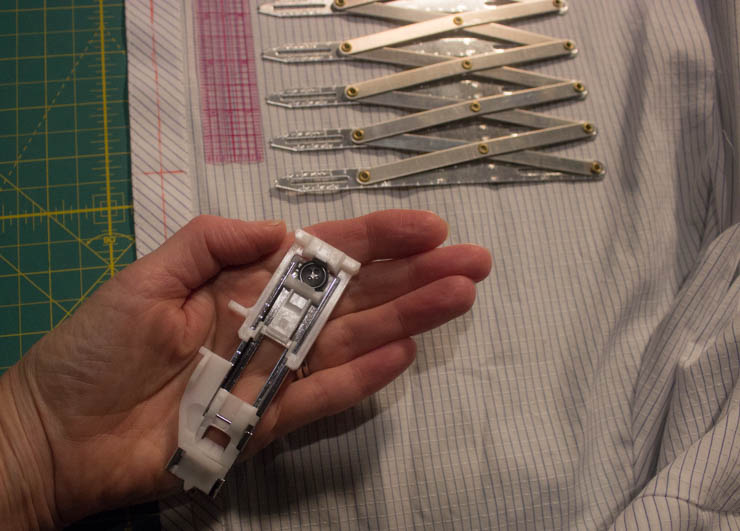
If your machine uses a buttonhole foot like the one shown above, put the button in your foot and follow the directions in your machine’s manual to attach the foot to the sewing machine. With this style of foot you will be sewing the buttonholes from the bottom end up to the beginning point of the buttonhole.
If your sewing machine and/or your buttonhole foot is manual only, you have more work to do. You should definitely follow the instructions for your machine. On my vintage Bernina 830, I started at the top edge of the buttonhole and stitched the top bar tack first, then adjusted the machine to stitch one leg of zig-zags, then the bottom bar tack, then the second leg of zig-zags, and then the tie-off. It is definitely harder to create 9 or 11 buttonholes that are exactly uniform with a manual buttonhole foot, but it is possible with some practice. It also helps to count your stitches—at least for the bar tacks—which will give your buttonholes a more uniform look. Besides, no one except you is going to compare 2 buttonholes to see if they are the same length! Sadly, most people are just not as interested in us as we are, LOL!
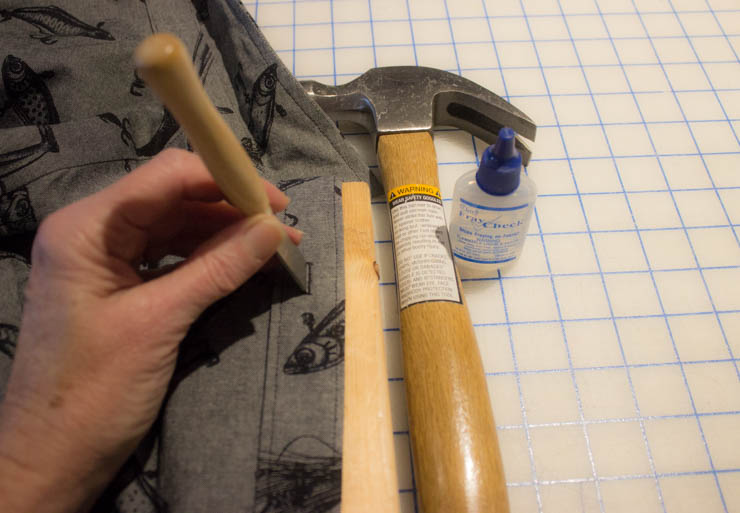
After all your buttonholes are stitched, run a thin bead of seam sealant like Fray Check between the zig-zaggy “legs”. Let it dry thoroughly, and then cut the buttonhole apart. I like to use my awesome Japanese buttonhole chisel for this job, but you can also insert a seam ripper and slide it between the ziggy-zaggy legs. Some people put a pin parallel to the bar tack at the end to prevent slicing further than desired!
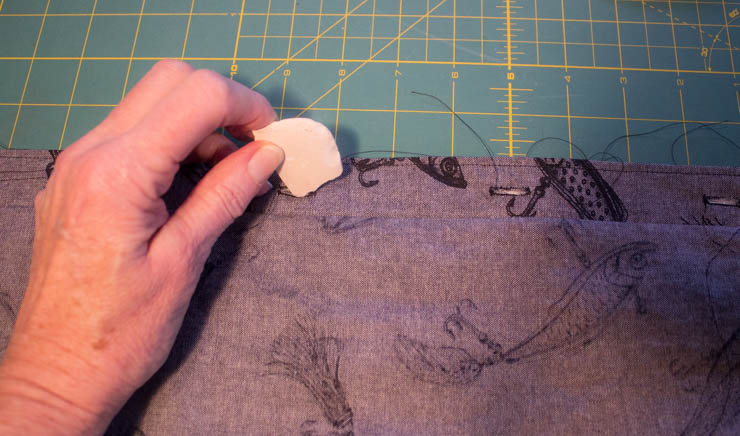
Whew! Buttonholes all done! Now here’s a fun trick to mark the button placement. Place the right side of the buttonhole placket on top of the right side of the button placket (be sure to align the front edges) and then insert a chalk marker in the middle of the buttonhole onto the button placket side. BAM! Yep,it is that easy to mark your button placements.
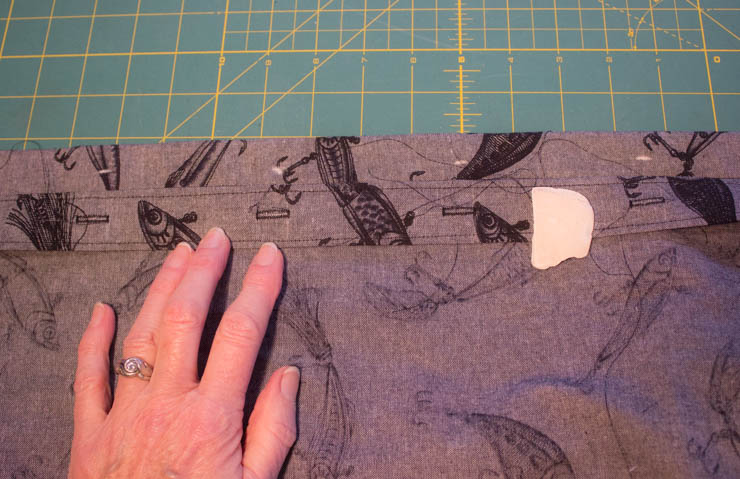
Turn back the buttonhole placket, and just make sure the chalkmark is on center front line. Done and done! Oh, well , you do need to sew the buttons on. And this UH-mazingly fast and easy button tute will blow your mind.
Sooooooooooooo close!
Happy sewing!
Maris