How are things going with your Ziggi? I hope you are all having a great time making up this jacket, cuz I am totally loving mine and can’t wait to get it done and on my body.
Today I am going to walk you through adding the pocket zips and pocket bags. I’m not gonna lie, this part is a little tricky. These almost-inseam pockets just might be the fussiest part of the jacket. The back section was simple and the collar was easy, peasy, right? Sooo, I guess there has to be something about this garment that qualifies it for “Advanced” or “Challenging”. I spent some quality time with my seam ripper and also made some practice samples trying to determine a process that would be both explainable and repeatable. Hopefully, I have accomplished both, but I am counting on you to let me know how I did. 😉
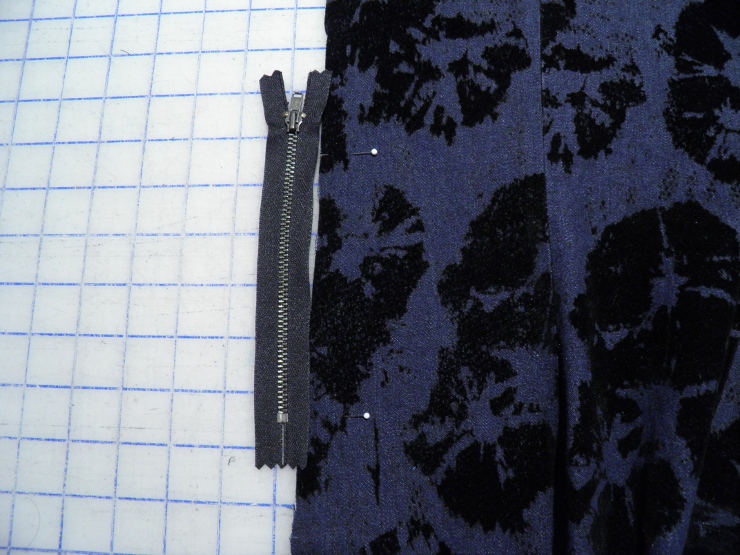
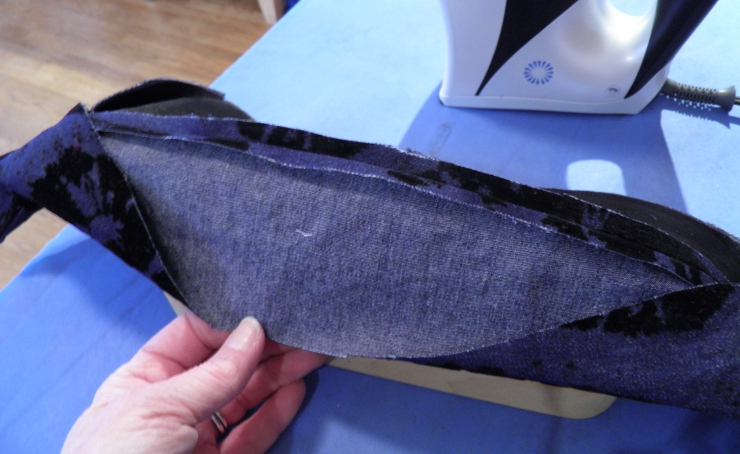
First, I am indebted to Shams for her great tutorial on inserting the side seam jacket zippers. I definitely borrowed from her process, but also tweaked it a little to add some Sew Maris love. Be sure to read her method too, and take what you like from both of our techniques. Before we get started on the actual sewing techniques, I want to let you know I think there is a discrepancy between the pattern notching and the supply list for Ziggi. The notches for the pocket bag insertion on my pattern are about 5 1/2 inches apart, and the supply list calls for 6 inch zippers. You can see in the pix above the pins are marking where the notches are located, and the 6″ zippers I ordered are clearly longer. So, I lengthened the pocket bags and pocket facings by 1/2 inch, and I distributed that extra length toward the shoulder rather than the hem. I checked another moto jacket in my closet, and it also uses 6 inch zippers, which seem about right for easy entry/exit for my hands. Of course, it is a matter of personal preference, but do check the distance between notches on your pattern size and compare to your actual zipper length
OK,let’s get started with the meat and potatoes of setting in these zippers!
Creating the zipper window
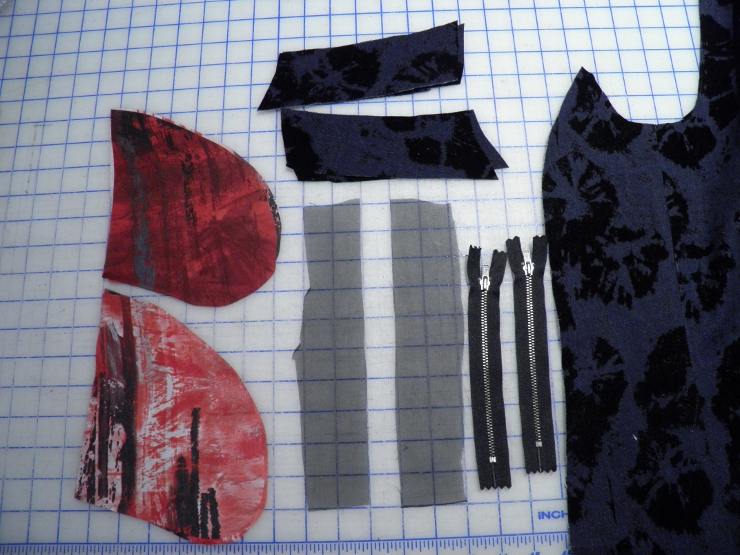
The zipper “window” is made entirely on the side front of the jacket. You are going to need some silk organza (any color), the pocket bags, pocket facings, zippers, and duh, the side front and mid-front Ziggi jacket pieces.
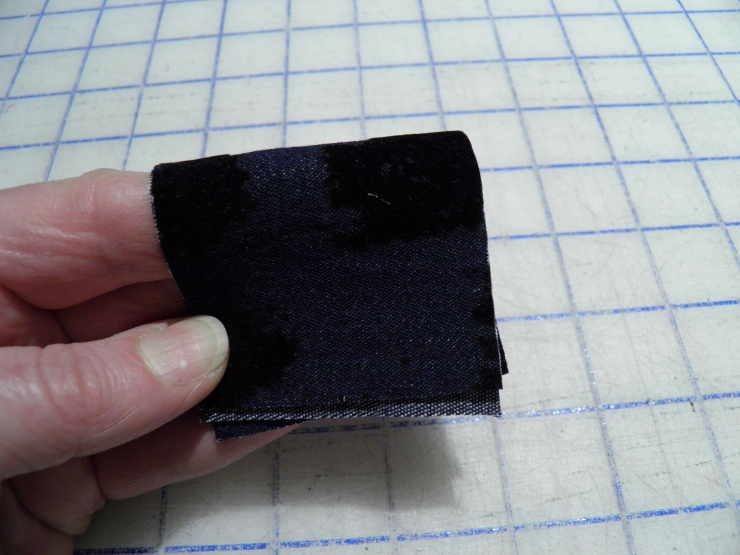
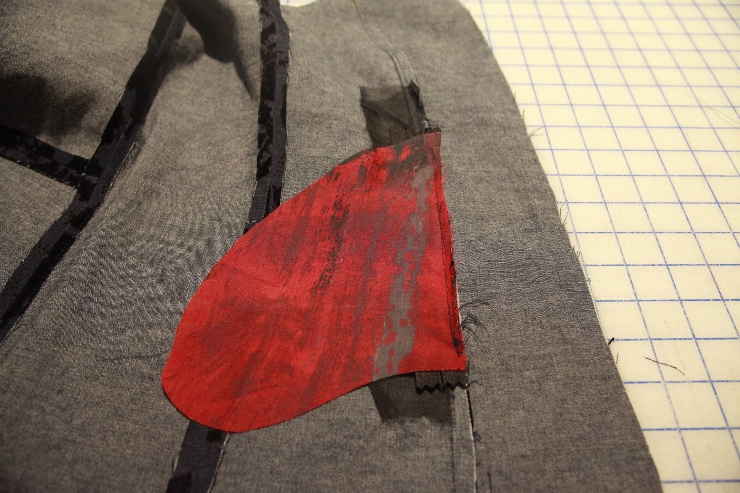
I cut 2 strips of black silk organza to “face” the zipper window. I didn’t measure these strips precisely – just made them a couple of inches wide and longer than my zippers. Pin the organza to the right side of the side front, making sure to extend both above and below the zipper notches. (Remember when I said my zippers were longer than the notches? I decided to set the bottom of the zipper as indicated on the pattern, and then just extended it further up the seam toward the shoulder. The reason for this placement is to make sure the pocket bag does not interfere with the jacket hemline.)
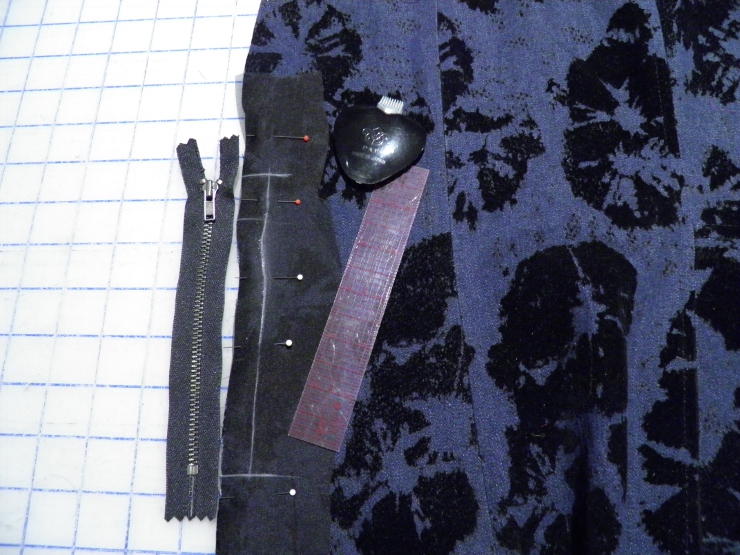
Next, I measured the width of the zipper teeth, which was a smidge over 1/8″. Since I only wanted a bit of the zipper tape to be visible, I chalked a vertical line on top of the silk organza a slightly generous 1/2″ from the raw edge, and a horizontal line for the zipper bottom and top. Err slightly on the side of being generous for these chalk lines. You want the zipper to easily fit in this window.
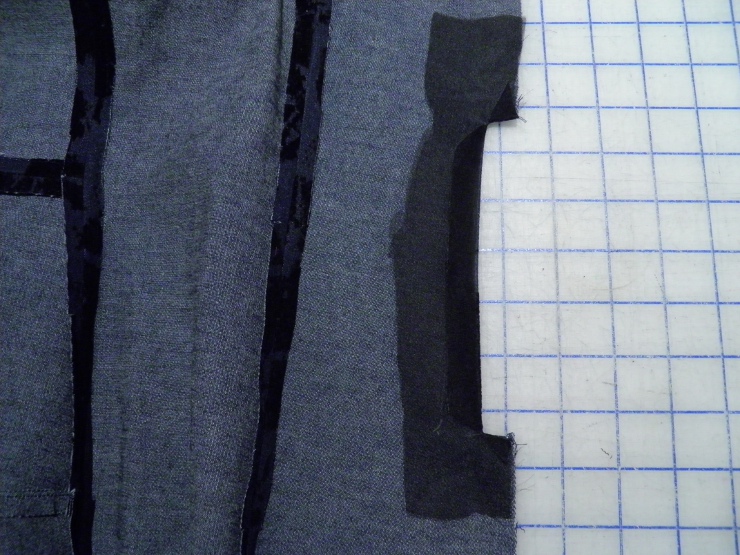
Using a normal stitch length, stitch across the bottom chalk line, pivot and stitch up the vertical chalk line, pivot again, and stitch across the top horizontal chalk line. Repeat for the other side front. Cut diagonally into the 2 corners of the zipper window, and press the organza to the wrong side of your jacket.
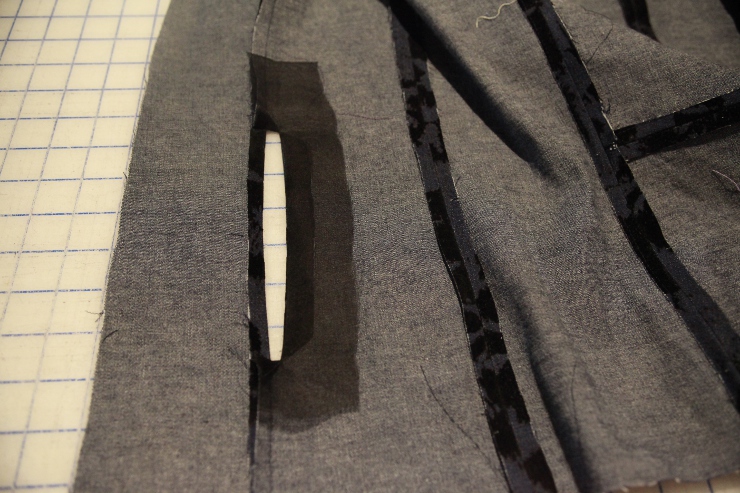
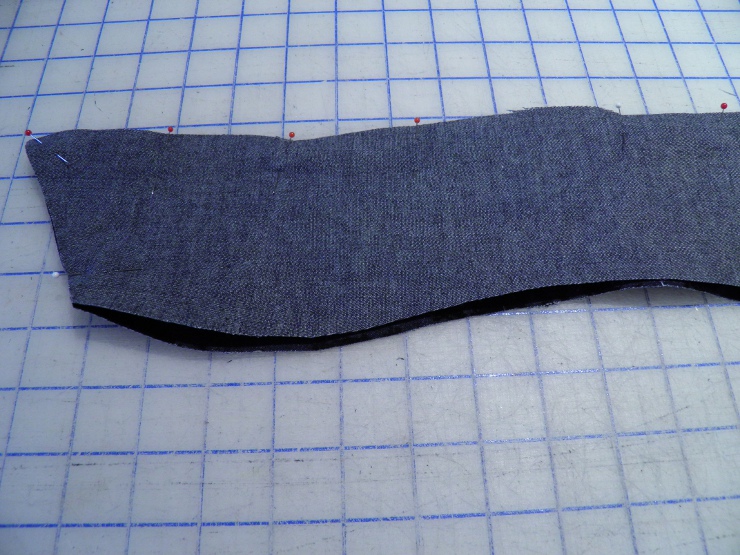
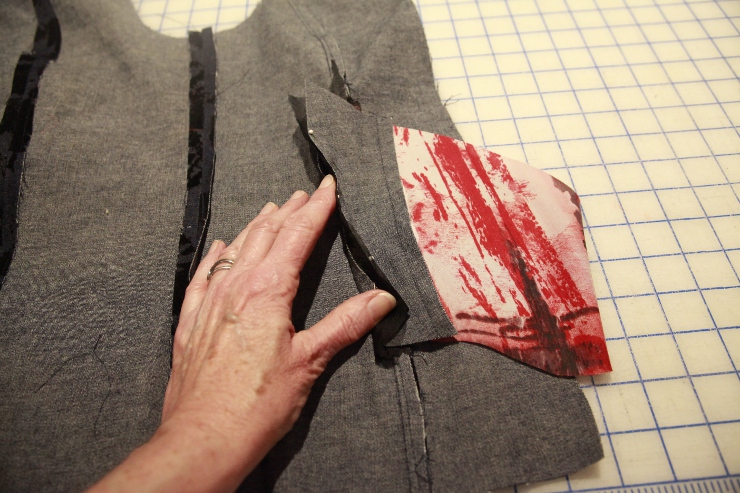
Now, using a normal stitch length, stitch the mid-front of the jacket to the side front. Start at the top of the neckline and stitch down to the top of the zipper window, and then backstitch.

Also stitch from the hemline to the bottom of the zipper window, again backstitching at the zipper window. You can see in the pix above the organza is totally free and the seam ends right at the zipper window horizontal stitching line. Now be sure to press both seam allowances toward center front, using a ham over the curved portion of the seam.
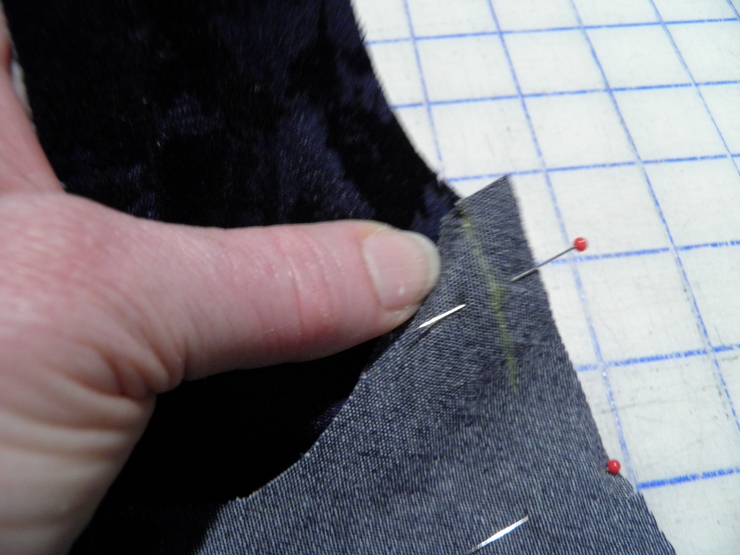
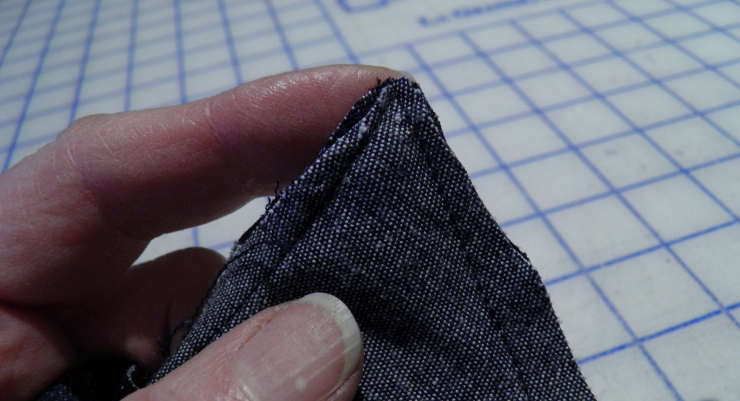
Humor me for a moment – I just want you to look at how the top of this seam (side front to mid-front at the top) lines up.There is a little notch at the top of the side front that should be aligned with the edge of the mid-front. And YES, there is a little hanging chad on the right. This is because you need to match up seamlines on the STITCHING LINE, and NOT on the cutting line. Thank you. That is one of my pet peeves. Now,moving on to more Ziggi-ness.
Inserting the zipper
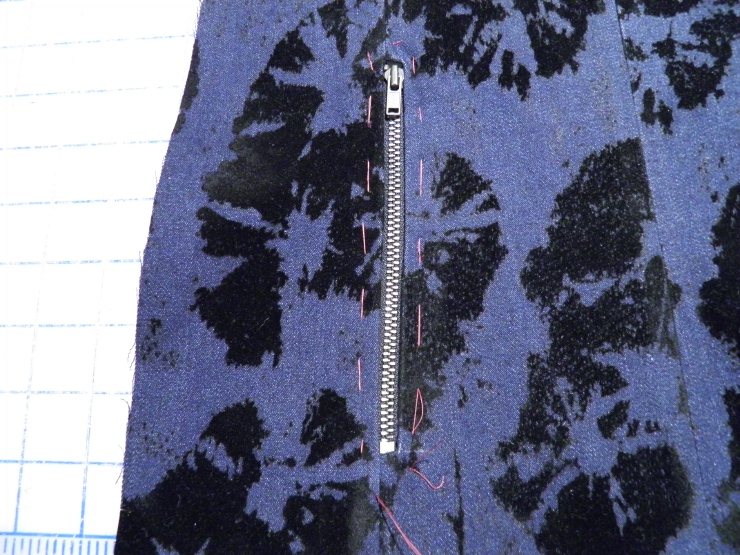
Baste the zipper in place into the zipper window. I recommend basting by hand, rather than by machine or just pinning. And don’t start whining to me about not liking hand stitching. Just put your big-girl panties on and do it. You will be happier with the results: more control, easier top-stitching, less ridicule from Sew Maris. 😉 Using the same stitch length you used for topstitching on your Ziggi back, (I used 4.0), stitch a scant 1/8″ from the seamline on the mid-front side ONLY, from the shoulder seam down to the bottom of the zipper, and backstitch 4-5 stitches.
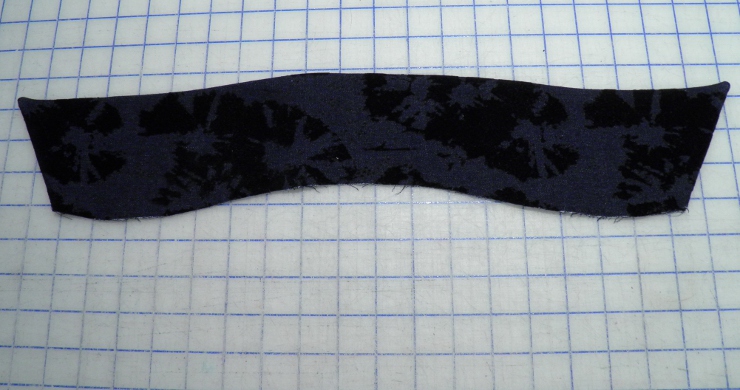
Next up are the pocket bags. The pocket bags are attached to the seam allowances around the pocket window. Since Style Arc uses a 3/8″ SA, it is a little challenging to sew these puppies, but you can do it. A zipper foot, a glass of wine, and a deep breath will help. Before we start sewing, a note about the pocket facings. I only used the pocket facings on the pocket bag that is stitched to the side front SA. Since the pocket facing is supposed to provide a continuous appearance of jacket fabric when the pocket is unzipped, a facing is only necessary on the side front. If you don’t believe me, pin the pocket bags in place, unzip the zipper, and you will see what I am talking about. It won’t hurt anything to put the pocket facing on both pocket bags, but IMHO it is not necessary.
Pin the right side of a pocket bag to the mid-front seam allowance and stitch. You will not have much room so use a zipper foot and go slowly. It’s fine to tale another pass at it if you need to – just make sure the bag is securely attached.
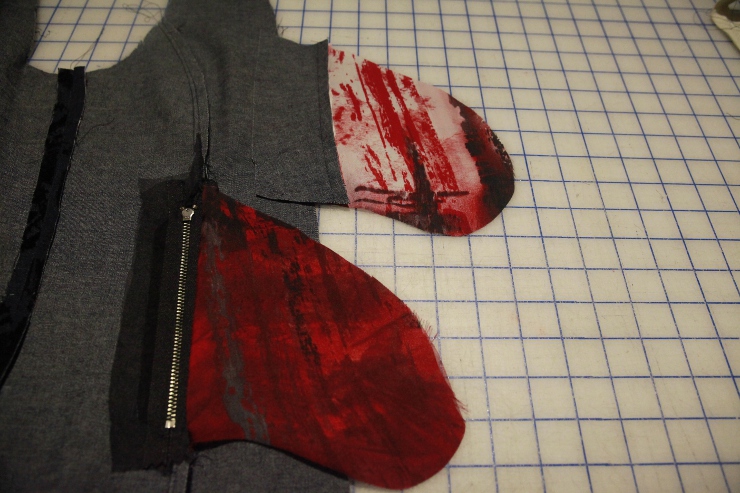
Press the stitched bag toward center front. Now this is the point where I completed the topstitching on the zipper window, along the top of the zipper, down the side front side of the zipper, across the bottom of the zipper, and connecting with the previous topstitching on the on the mid front and continuing down to the hem. I am not sure I had to separate the topstitching into 2 separate passes; but it seemed like a good idea at the time. The next thing I did was to attach a pocket facing to the opposite pocket bag.
Pin the pocket facing to side front seam allowance, and stitch. Hang in there, you are almost done!

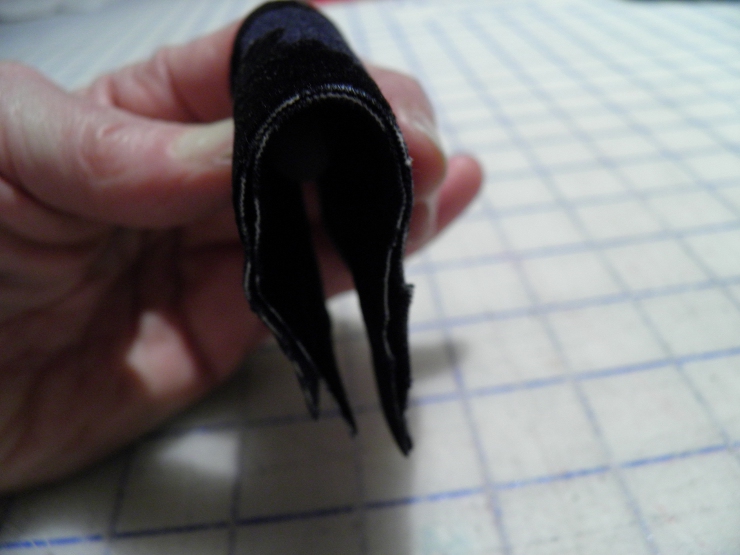
And ta-da, now you get to stitch the pocket bags together and call it done. Very likely the pocket bags will not line up perfectly, but don’t stress. Just trim any excess. Don’t worry about your stitching either – it is hard to stitch straight on slippery lining fabric going around curves and trying to keep everything flat and aligned. The lining will cover a multitude of sins. My stitching looks pretty crappy, and I can totally live with it.
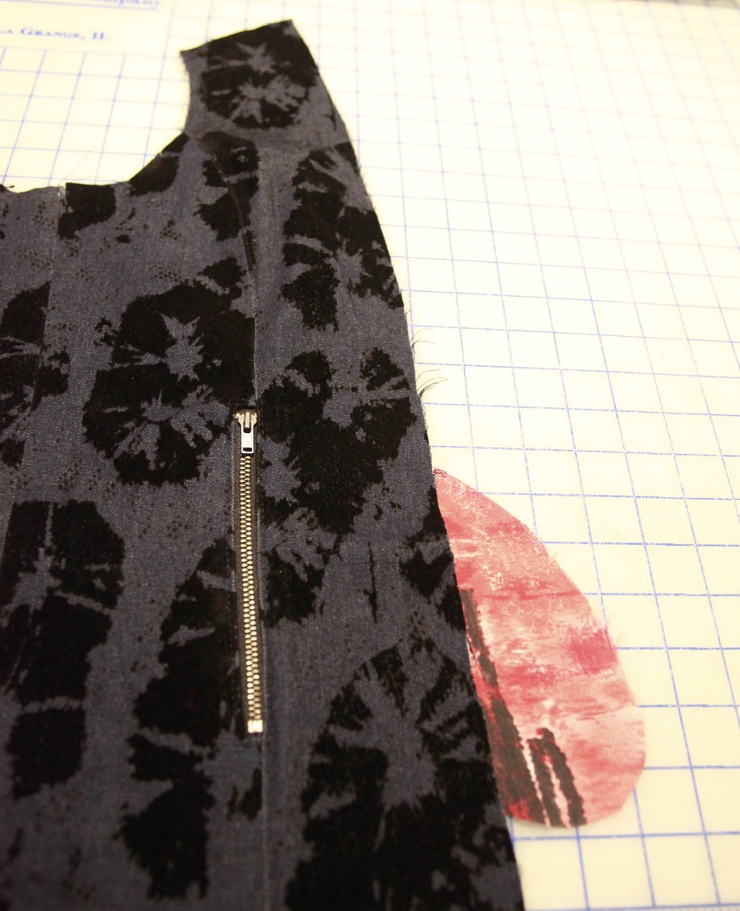
Apologies for this less than stellar image, but here’s how the finished front looks from the right side. Now that wasn’t SO bad, was it? I don’t think we can call it easy-peasy, but I’m pretty sure you won’t die from doing it. Questions? Shout ’em out! Comments? I’d love to hear from you? Complaints? Stacy is taking all those. 😉
Happy sewing!
Maris