Now that the pattern + supplies have been ordered/purchased, and maybe even a little cutting and fusing has been completed, let’s get to the fun stuff: SEWING.
Ziggi eases you into the sewing process nice and easy with the collar construction, You’ve made a million or two collars, right? Let me know at the end of this post if you learned a new trick or two tho, because there are some tips here that might make your collar-making pain-free.

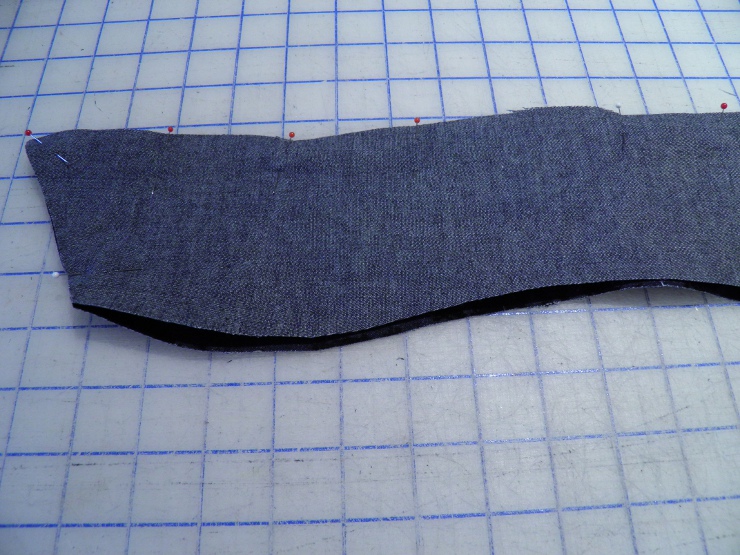
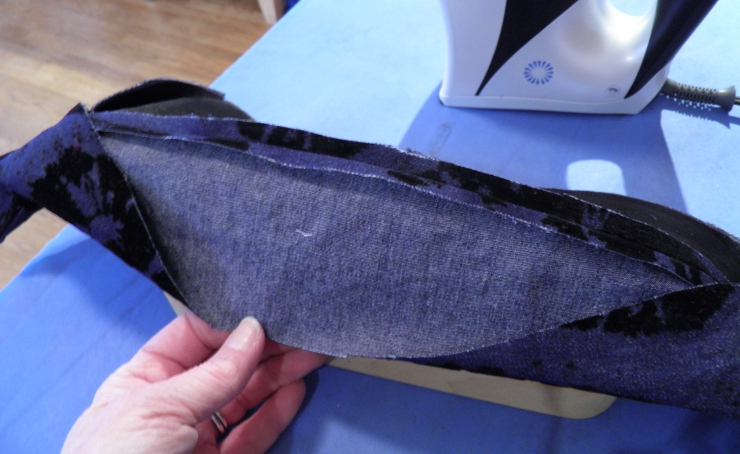
Start off by trimming your under collar on all sides EXCEPT the neck edge. How much, you ask? I can’t tell you exactly because it depends on the thickness of the fabric you are using, but I can tell you how you can figure it out. You need to cut off the amount that your fabric “uses up” laying across another layer of the same fabric.This is what is meant by the expression “turn of cloth”.
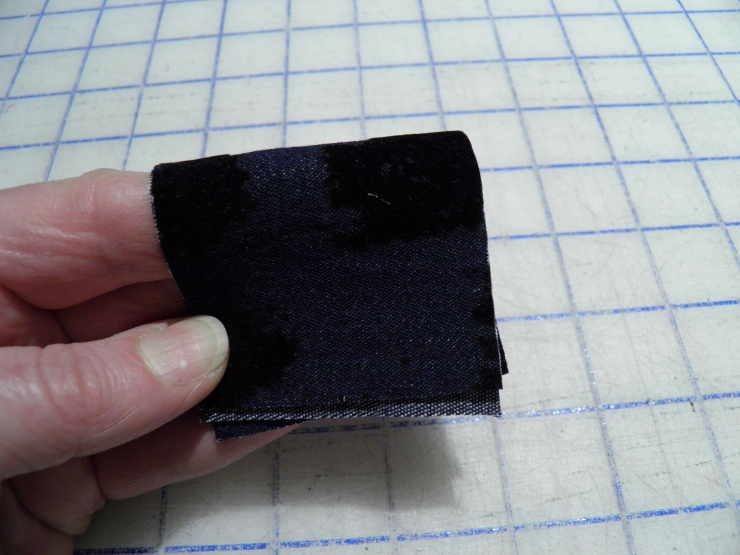
So lay your two collar pieces together, and then fold them in half. In these pictures I am just using samples, but you get the idea.
Then just turn the fabric so you can see the difference in length between the top layer of fabric and the bottom layer of fabric. This difference is the amount you will need to cut away from your under collar to help it lay completely UNDER your upper collar. So measure that difference, and then trim away. Easy AND logical, right? Since most patterns these days no longer have a separate under collar and upper collar pattern piece, and they couldn’t account for all weights of fabric anyway, you should use this little trick to get all your collars to lay smoothly forevermore. You are most welcome. 😉
The next step is pinning. With the upper collar on the bottom and under collar on top, pin around the 2 short sides and the collar edge, leaving the neck edge free. Don’t stretch the under collar to fit, but do make sure all end points match. Stitch with the upper collar against your feed dogs, which will ease the upper collar to fit smoothly. Be sure to use a 1/4″ SA! You might not be used to such a small SA, but I guarantee you will come to love it. It is so much smarter to use the SA required for the job: no more, no less. This method eliminates most trimming after stitching, which saves time. And who doesn’t like to eliminate unnecessary tasks?
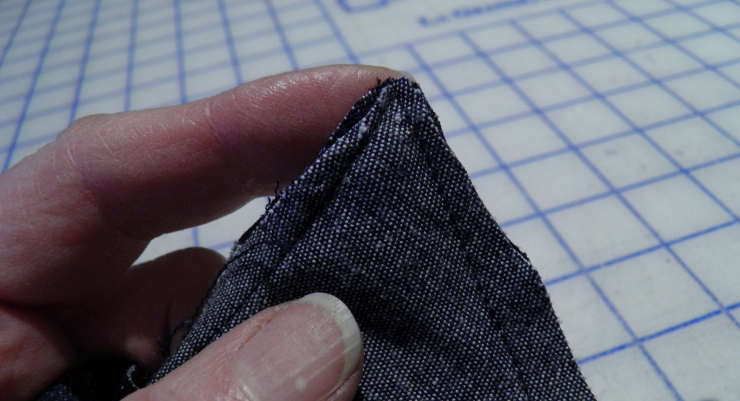
Trim the excess fabric from both collar points, leaving a scant 1/8″ at the tips. If your fabric is a loose weave don’t trim quite so close.
Next, press your stitched collar seams open over a point presser and turn the collar right side out. Your collar points will probably need a little love to get them looking their best.
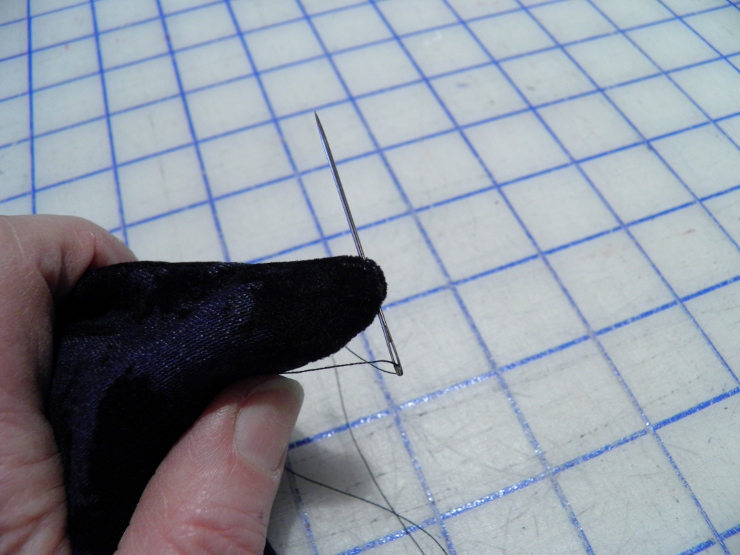
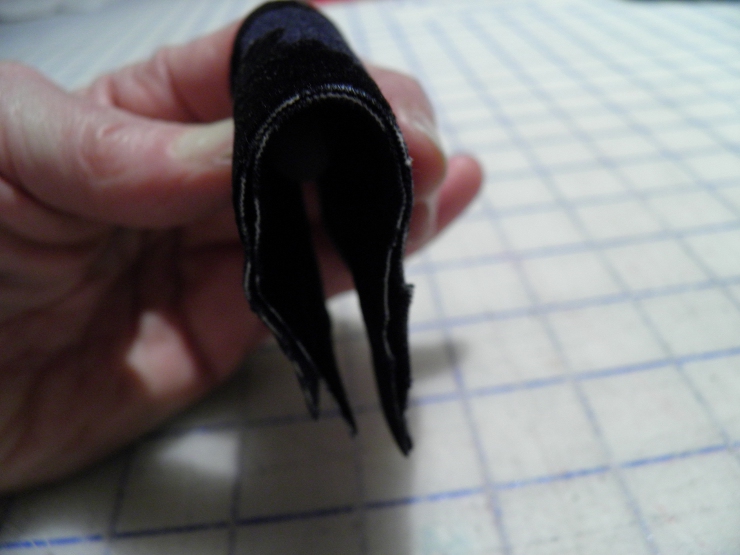
One trick I use often is to insert a threaded needle into one side and out the other of the collar point. The idea is to get the needle right into the seamline on both sides if you can.
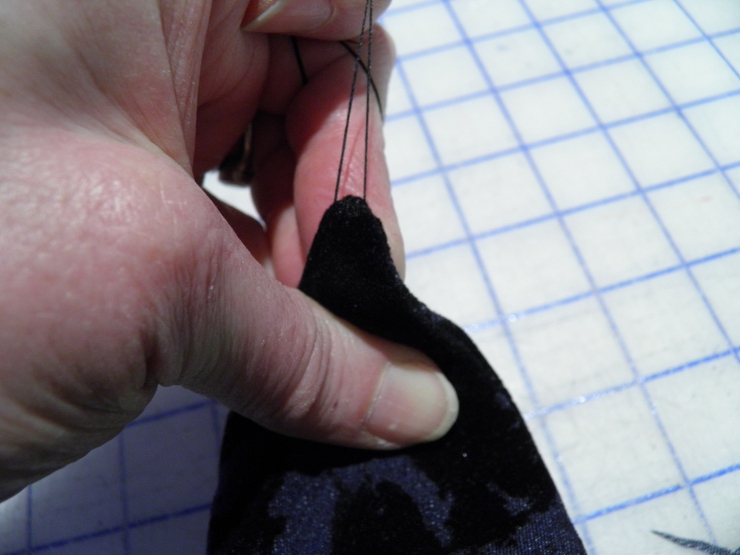
Pull on the thread, trying to work the point outward as much as possible You likely will need to repeat this same process a few times to pull as much bulk as possible out of the collar point. Don’t try for a perfect point; it is just not gonna happen. Some amount of that collar point bulk is going to stay bunched up in there, so be Zen about it. The thicker your fabric the less “perfect” the points will be. The idea is to just pull as much out as you can, OK? Don’t make yourself crazy!

Next you want to understitch to secure the seam allowances to the under collar. If you have an edgestitch foot, this is a great time to use it. I moved my needle 2 stops to the right, pushed the seam allowances towards the under collar, and stitched as far as I could along the collar edge. Since my thread is such a close match it is hard to see in this picture, but if you squint your eyes and stand on one foot you can see the line of understitching on the right. See it now? 😉
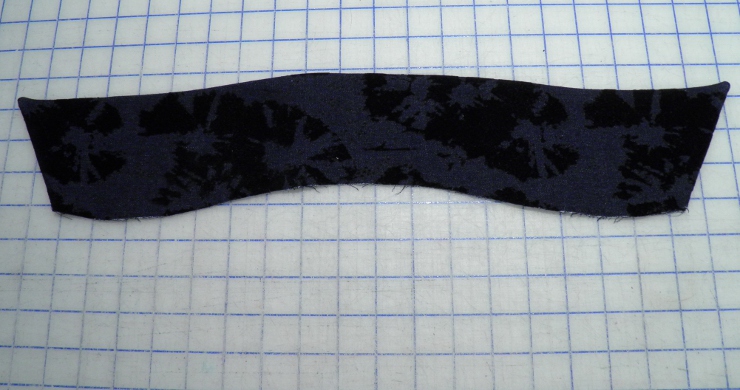
Now just press your collar, admire your handiwork, and be proud your collar is DONE! You feel better already, don’t you?
Happy sewing!
Maris