Now that StacySews has helped you wrap up the main jacket body assembly, it’s time for more zippers. Don’t despair tho, these are a snap to put in. With a regular zipper foot you will be able to stitch both sides into place quickly and easily. The one thing you want to verify before starting is that your zippers are the correct length.
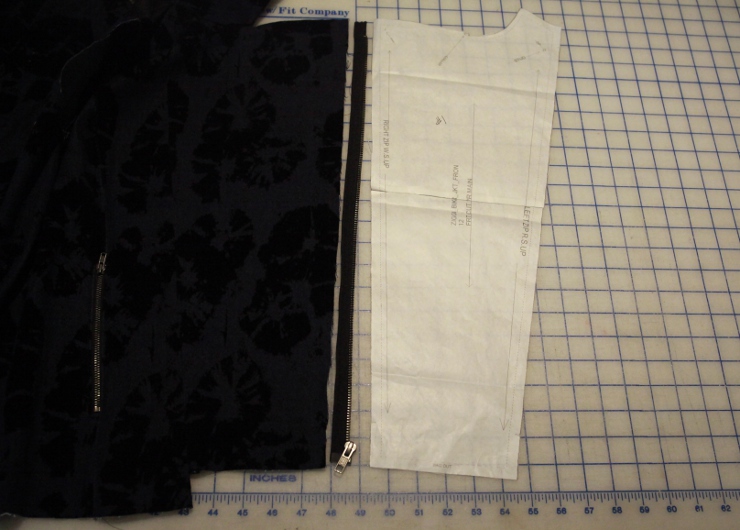
It is easiest to test this out on the right side of the jacket. The zipper bottom should be positioned 3/8″ above the bottom edge of the right front jacket, and as long as the upper metal stop is 3/8″ below the top edge you are in great shape. Shortening a zipper is not hard at all as long as you have some nippers that can cut off the extra metal teeth. If you have never done this before, try watching this video featuring Stan from StanSews – he will show you exactly how it is done. I had my zippers shortened at ZipperStop.com, so the fit was perfect.
See the chalk line? I mark up my garments all the time during construction, because I like to make sure my stitching and measuring is accurate. So I drew a chalk line 3/8″ up from the bottom edge, and also….
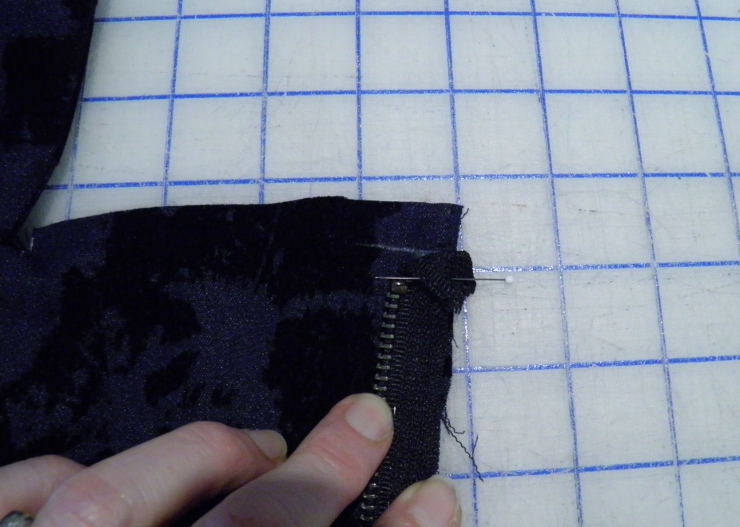
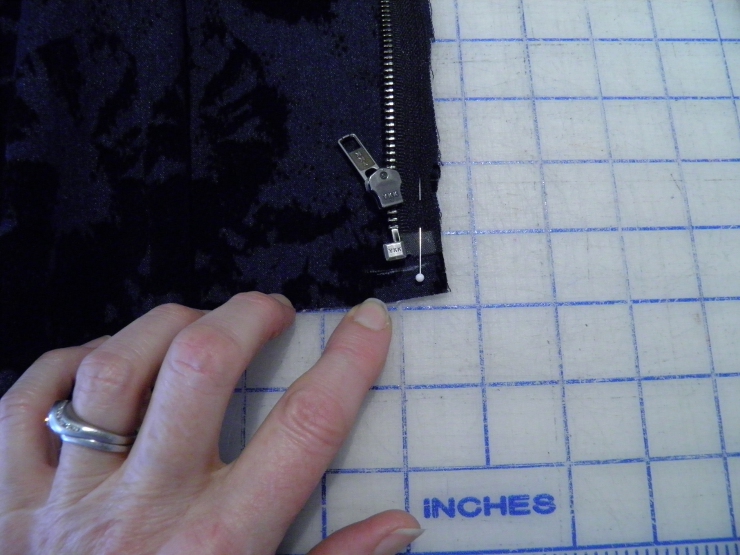
…3/8″ from the top edge of the right jacket front. Then I machine-basted the zipper to the front, making sure to fold over the extra tape at the top as shown. I didn’t worry much about the stitching line here, because the final stitching with the facing on top is the one that needs to be accurate – not the zipper basting.
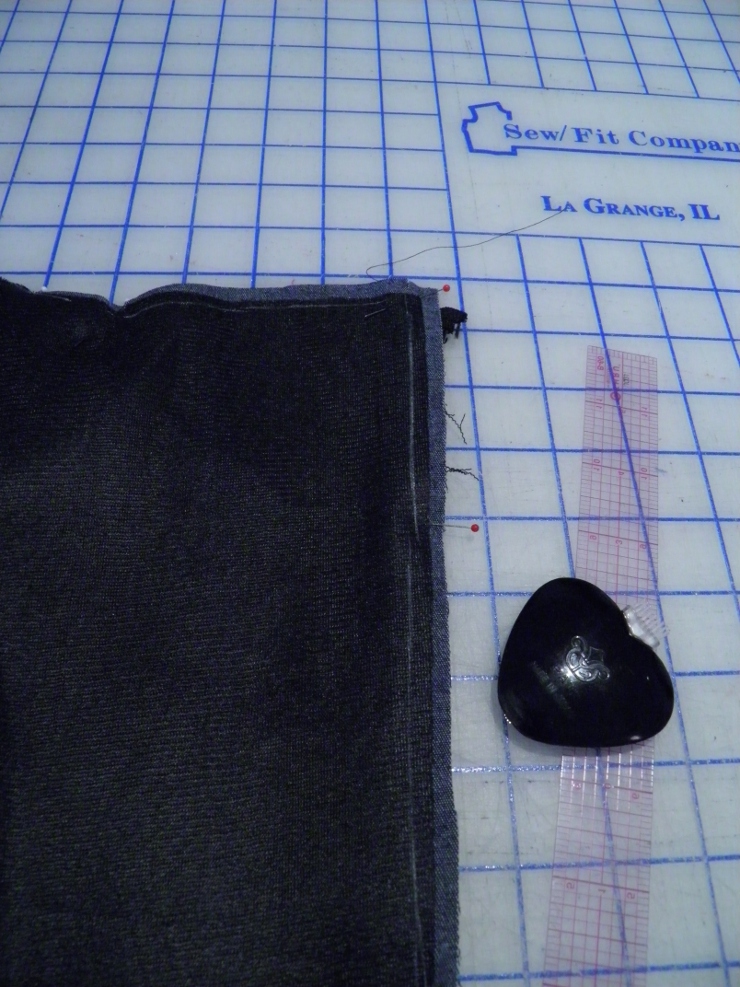
Next I placed the right facing on the right front, matched notches and seams, and pinned in place. Yay! Another chalk line! Since this seam has to be sewn with the zipper foot, and I needed to move the needle to the left of center, I wanted to make sure I stitched an accurate 3/8″ seam allowance. I know, picky. 😉 But think about it, how many people actually encourage you to write on your clothes, eh?
One note: as you move from stitching the facing front onto the collar – the seam allowance changes to 1/4″ – so make sure to adjust accordingly. There is a double notch right at this point on the neckline so watch for that indicator. Also, be sure your collar is “sandwiched” between the jacket and the facing. Think of the collar as the peanut butter and the facing and the jacket as the bread. Whole wheat, of course. 🙂

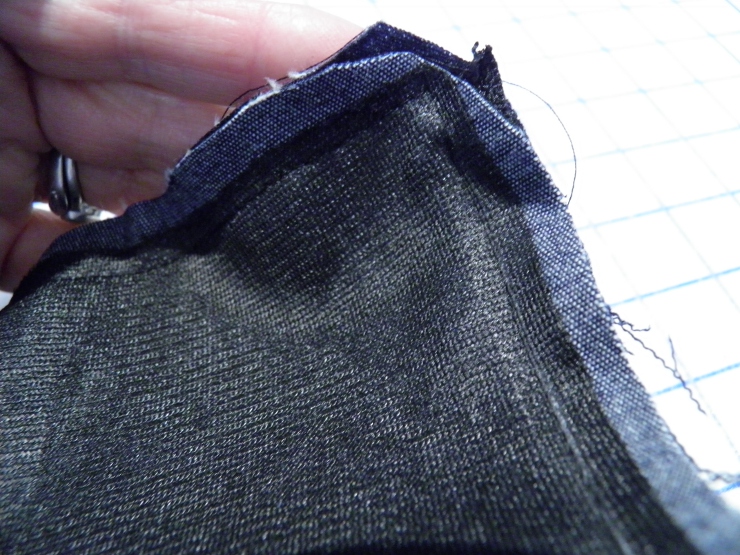
Oh, and one other important thing: do not extend your stitching all the way to the cut edge at the beginning and the end of your front facing. Might be a little hard to see what I am talking about – but in this picture above my forefinger is folding back the front edge of the right facing piece. The front facing extends 3/8″ beyond the seamline of the right front and the right mid front – this is so you can attach the lining to the front facing edge. You should have the same 3/8″ extension where the right front facing joins the yoke shoulder seam at the top. All for the lining, ladies!
If you aren’t in the habit of trimming corners diagonally after stitching , it is a good habit to get into. Reducing bulk will help your garment lay more smoothly as well as make a nicer shaped corner. With a 3/8″ SA there is no need to trim anywhere other than the corners. Nice bonus to the small SA, right?
OK ladies, we are half done with the front zippers! Give the right front a nice pressing to make sure everything lays smoothly.

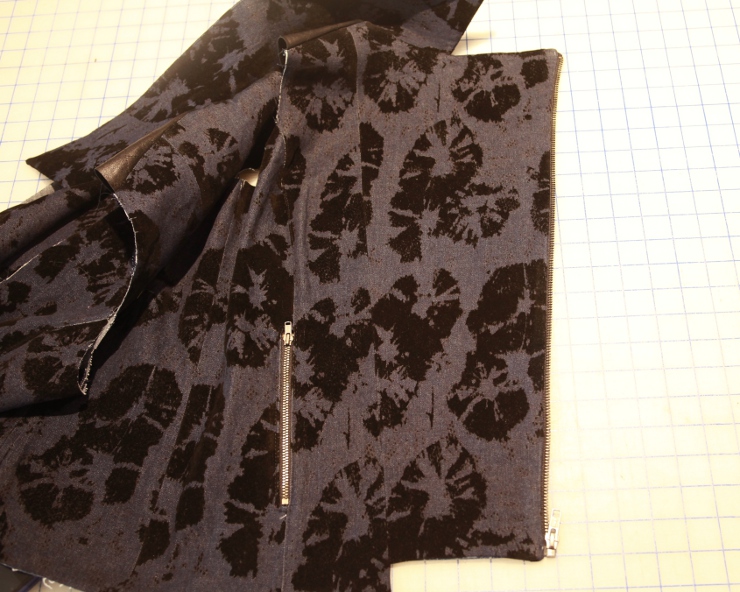
The left zipper is a similar concept – but instead of going along the left front edge, it is inserted between the left front and the left mid-front seams. Otherwise I followed the same steps of marking, pinning, basting, and final stitching. Easy peasy! Try zipping up your zipper at this point to make sure it will run smoothly. If all is well, give it a good press with the seam allowances pressed toward the armhole and the zipper teeth toward center front.

The left front facing is similar to the right, with one difference. The stitching at the bottom edge of the left side is 1.5″ from the bottom edge rather than the 3/8 on the right front facing. So mark a stitching line across the bottom edge, and stitch the bottom hem, left front edge, and left neck edge. Remember to switch to a 1/4″ SA at the collar and to leave the 3/8″ SA at the beginning and end for the lining attachment step!
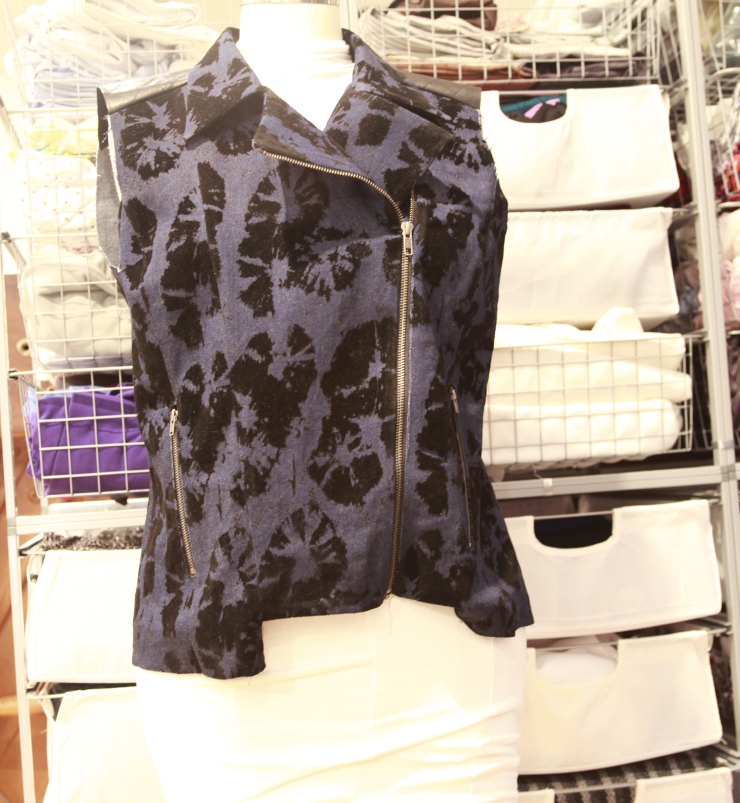
Of course the rest of the hem is not done, but here is Ziggi partially zipped up and looking all sporty.

And here she is looking more corporate and prim. Do moto jackets ever look “prim”?
Happy sewing!
Maris