If you sew with lots of knit fabrics, you have probably run into difficulties creating a nice hem on at least some of these fabrics. The more slippery and light-weight the knit the more challenging it is.
My favorite method of hemming knits is to use the coverstitch function on my Bernina 1300 MDC serger. Here is what you need to get started:
- Garment to be hemmed (duh)
- Coverstitch machine, or serger set to coverstitch function
- Steam iron
- Narrow (1/2 inch or so) strips of fusible interfacing, or purchased knit stay tapes
- Thread
- Scissors
- Ruler or hem template

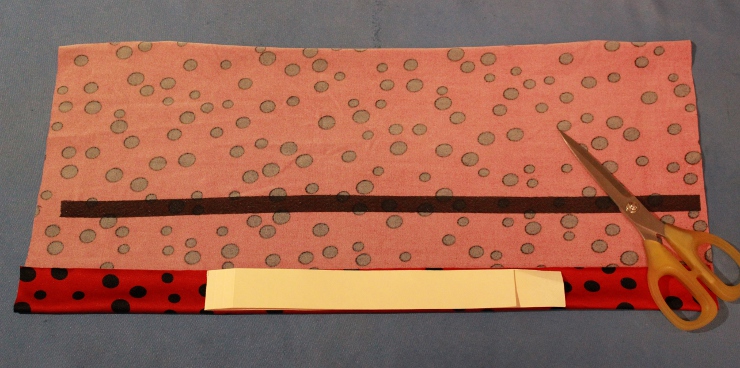
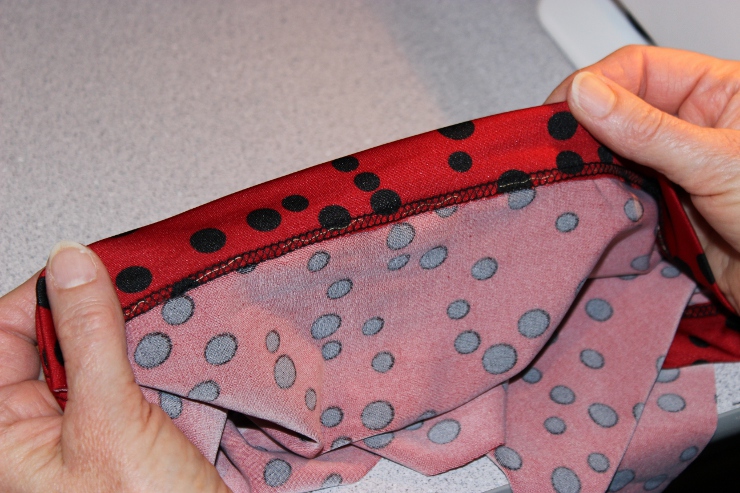
1. Press the hem using a the correct temperature setting for your knit. Instead of a ruler I use a tagboard template cut to the exact width hem. It is much faster and easier than a ruler and marking pen, since you can press directly on the tagboard.
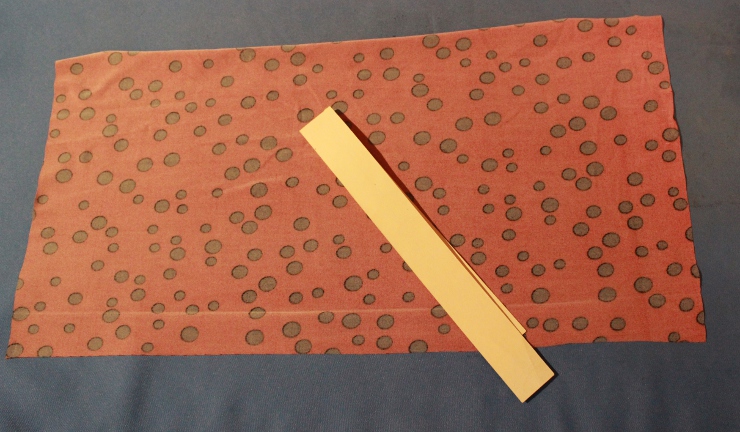
See the press line on my sample? Knits will definitely not produce the same kind of crisp line that firmly woven cotton will, but usually you can still see the line and it will help you to turn the hem evenly.

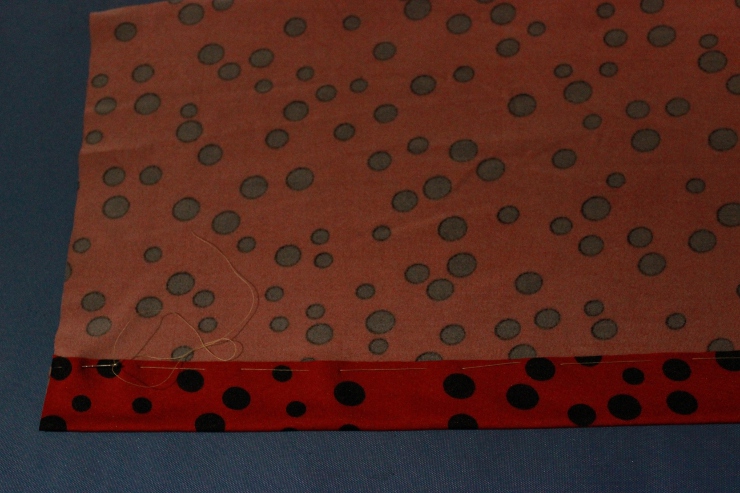
2. Press a 1/2″ wide strip of fusible interfacing or purchased knit stay tape on the cut edge of the hem. This will help prevent “tunneling” of the fabric between the 2 rows of stitching.
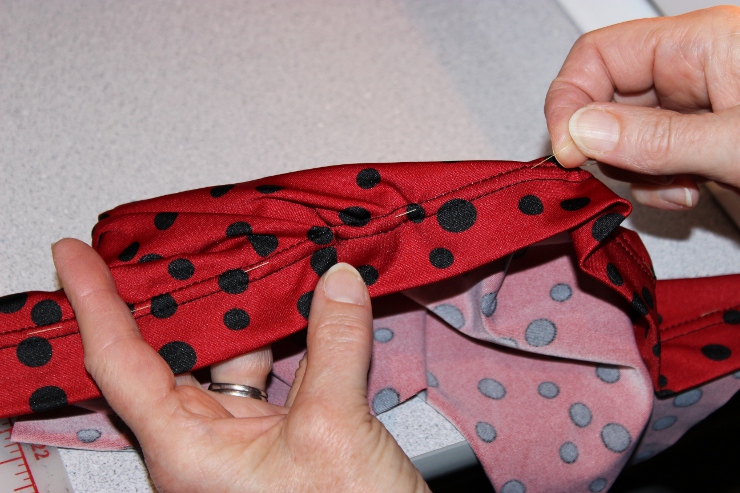
3. Hand baste the hem turnback to the garment. Now, this step is optional, but sometimes it is the only way to keep knit hems in the proper place/position when you are actually stitching. It also provides a guideline to help keep your coverstitching straight.
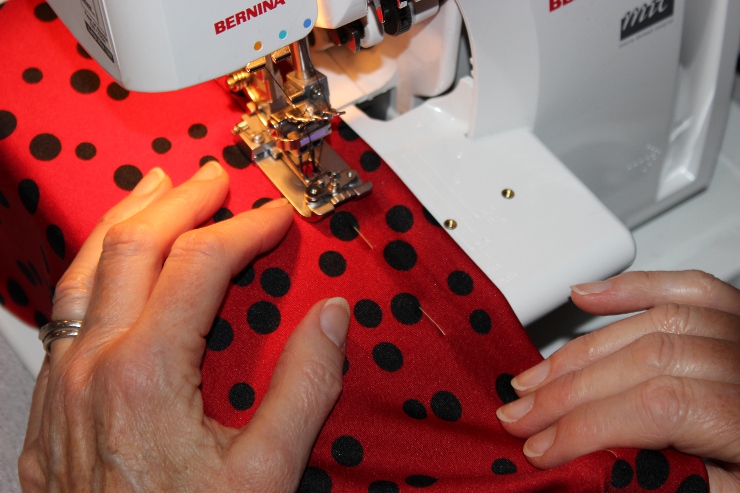
4. Using a standalone coverstitch or serger set to a coverstitch function, hem your garment. See how the basting thread is visible while you stitch?

You can see the basting stitch is (somewhat!) centered between the 2 rows of stitching on the front of the hemmed garment.
Annnd the back side of your hem.
5. Remove the basting thread, and you have a hemmed garment. Whew!
One final hint: if you are working with a lightweight knit it might be helpful to reduce the tension settings on your needle threads. This plus the stabilizer on the cut edge can really minimize the dreaded “tunnel” effect!
Happy sewing!
Maris