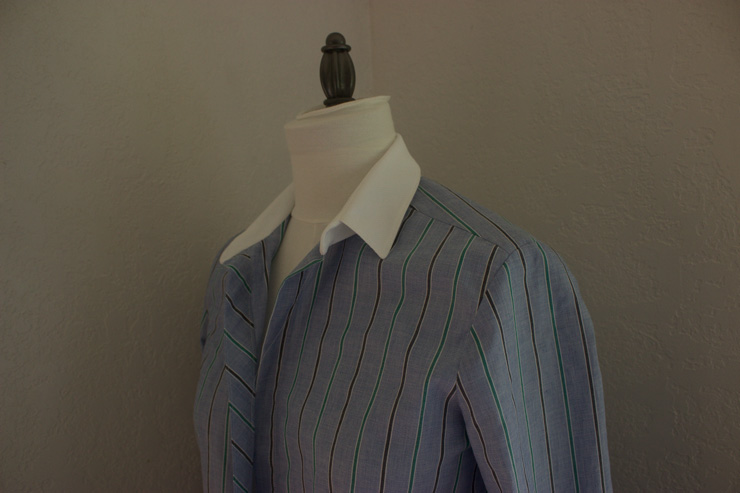
The collar is the main focal point of a shirt, so everything you can do to make this part of your garment as perfect as possible will help your garment achieve that “standard of excellence†we sewists all strive for with our garments.
Ironing, or pressing, is an often overlooked or under-appreciated part of sewing. And they are different. Ironing involves sliding the iron across the fabric; pressing is lifting and setting down an iron with some pressure. If you take the time to really learn how to iron/press your garments during the construction phase, your finished garments will immediately look much more polished and professional. You can easily spend as much time ironing and pressing as sewing when making tailored clothes!!
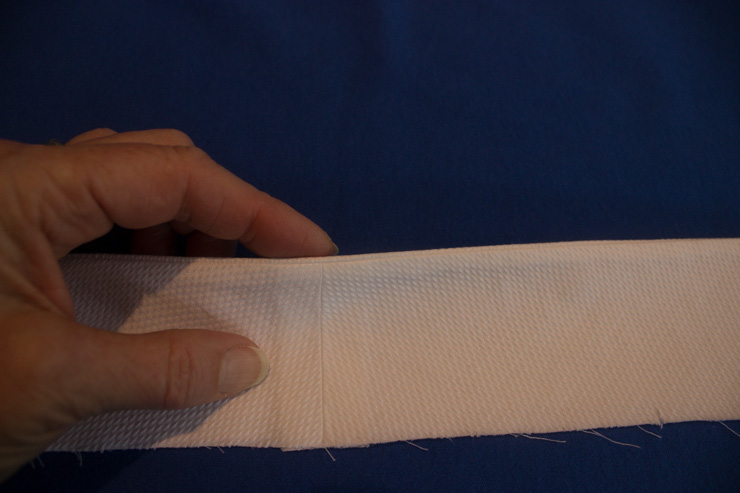
BTW, one of the tricks to a properly ironed shirt collar comes long before you get to the ironing board-it starts with cutting. That’s right, your job will be much easier if you cut your under collar slightly narrower and shorter than your upper collar.
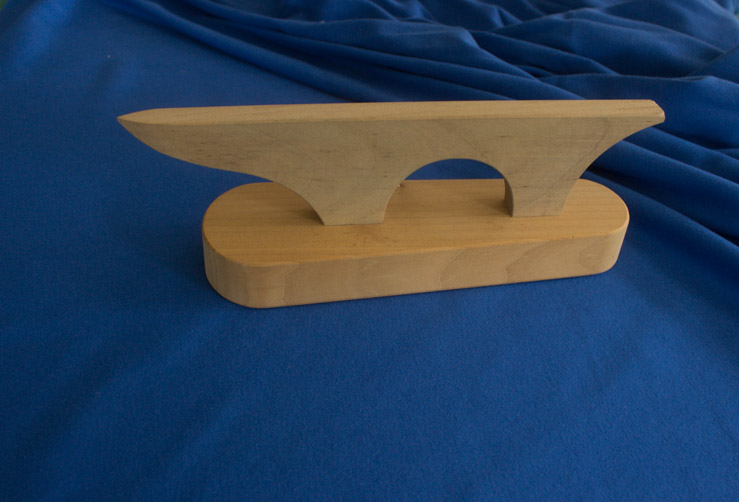
Tools needed:
Steps to ironing a shirt collar during construction
1. Stitch the interfaced upper collar to the under collar.
2. Trim the seams to a scant 1/4â€, and cut across the corners diagonally.
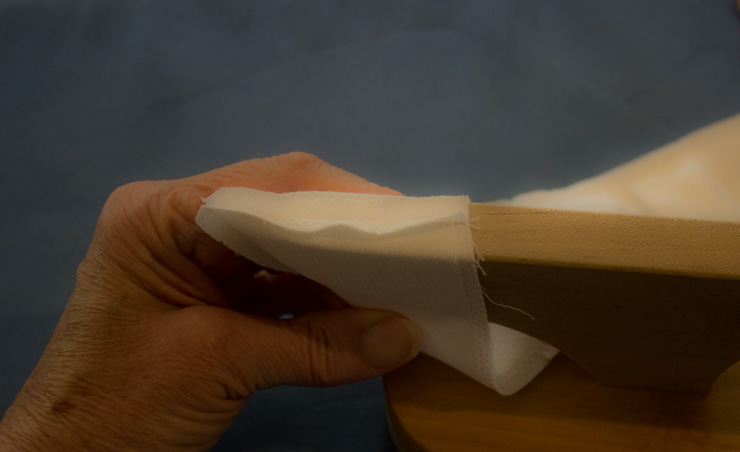
3. Place one short end of the collar on the point presser, with the collar point at the tip of the presser. Iron the seam allowances open.
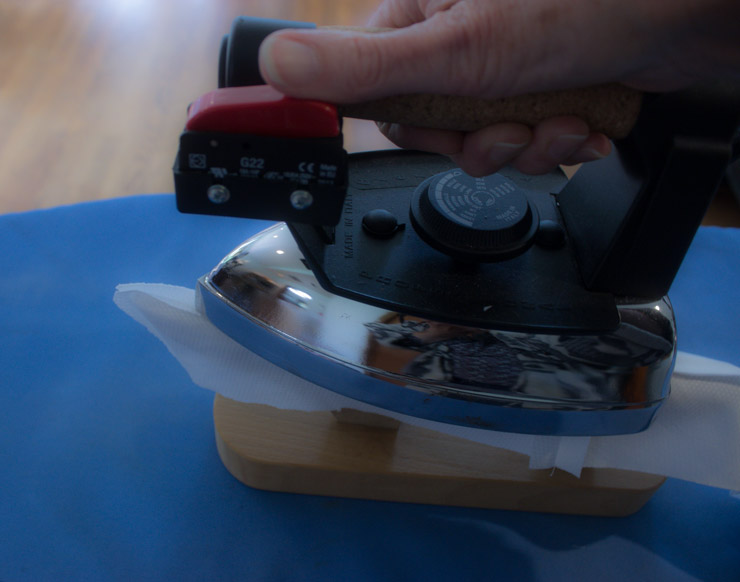
4. Turn the collar so the long edge is on the point presser, and iron the seam allowance open.
5. Repeat with the other short end of the collar.
6. Turn the collar right side out, and press the collar flat, favoring the seam edge so that the under collar is slightly to the under side of the finished collar. (See why cutting the under collar slightly smaller is such a help??)
7. Topstitch if desired.
Now I expect all your shirt collars to look like total PERFECTION!! Let me know how that goes. 😉
Happy sewing
Maris