There’s almost always more than one way to skin a cat, and this is certainly true for applying sleeve plackets to shirt sleeves. Today I want to show you what I think is probably the most common way to add a placket to a woman’s blouse or shirt. It is simple, unobtrusive, and a delicate, feminine finish to a shirt sleeve.
For this example I am using 2 different fabrics plus contrasting thread so you can really see the process and the stitching. Ugly for sure, but hopefully clarity will win out!
Oh, and you can apply the sleeve plackets before or after you set the sleeve into the armhole, but IMHO it is a bit easier to do it beforehand, just so you have less fabric to deal with.
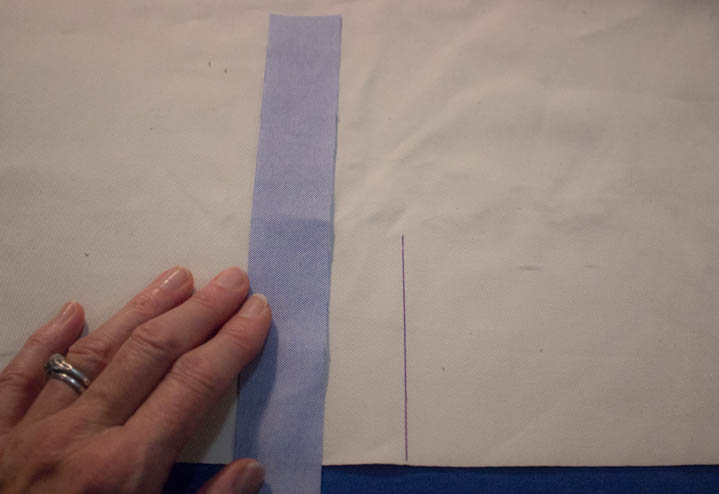
1. Start by cutting two rectangles of fabric 1.25 inches wide and at least 7 inches long. I like to cut them a little extra long and trim any excess off, rather than have them end up short.
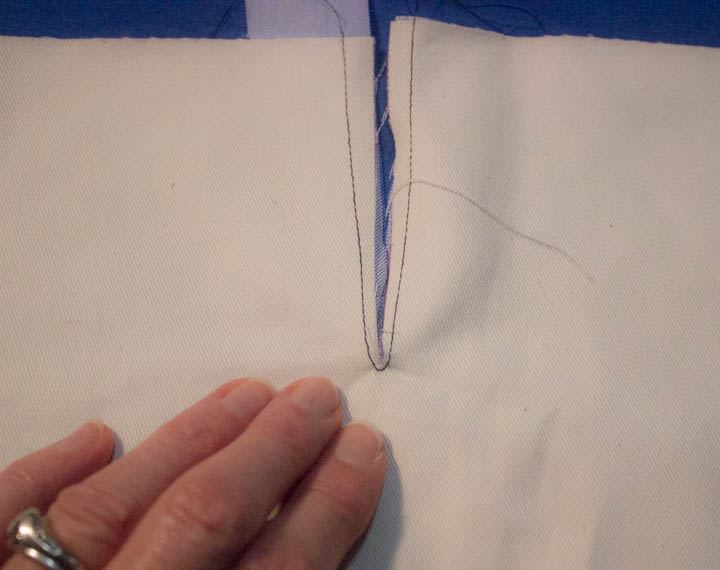
2. Using the marking tool of your choice, draw a line as indicated on the pattern on each shirt sleeve.Make sure are marking the mirror image, meaning both the right and left sleeve. Cut along this line.
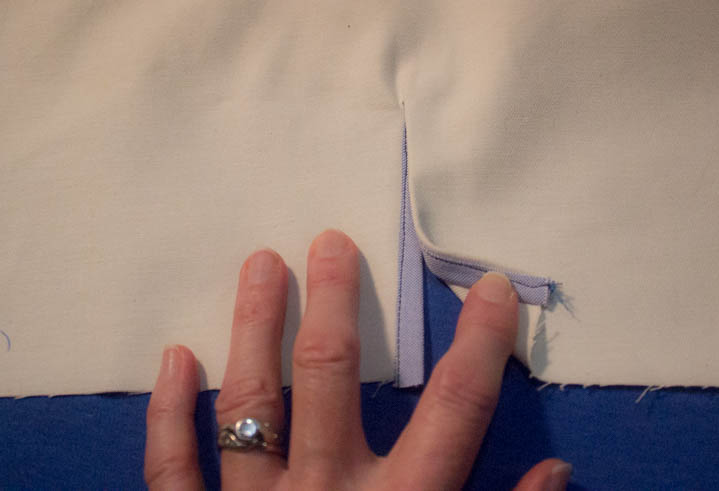
3. Draw a line 1/4 inch from the edge of the sleeve placket in the middle section. I like Frixion pens for this kind of job. See my purple Frixion line up near my thumb?
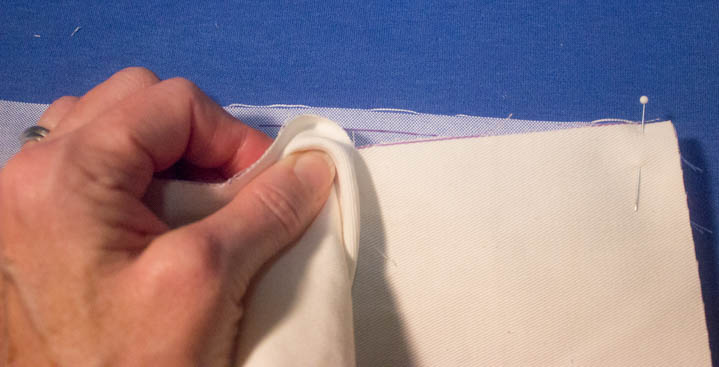
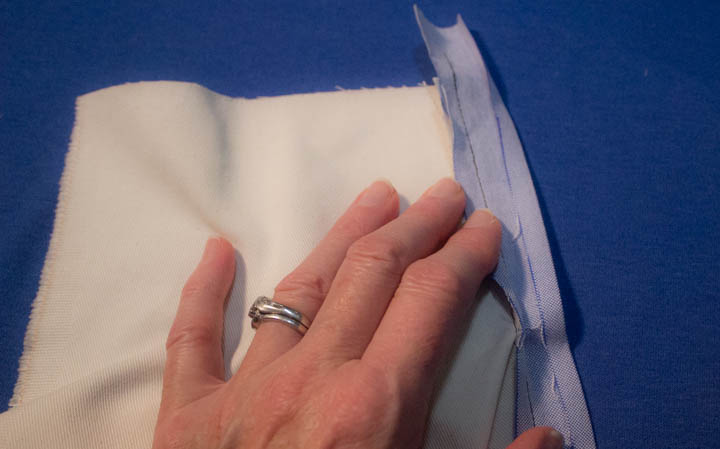
4. Pin the placket strip to the sleeve, RS together. At each end the raw edge of the sleeve slit and the raw edge of the placket strip will be matched up, but towards the center of the slit the sleeve will be almost 1/4″ away from the placket edge – but make sure the center is slightly over the 1/4″ line you drew.
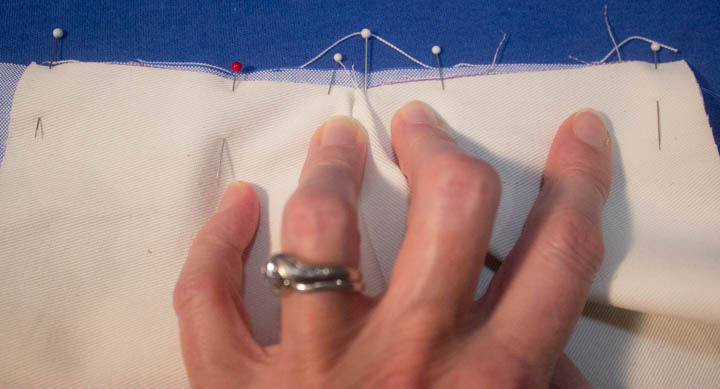
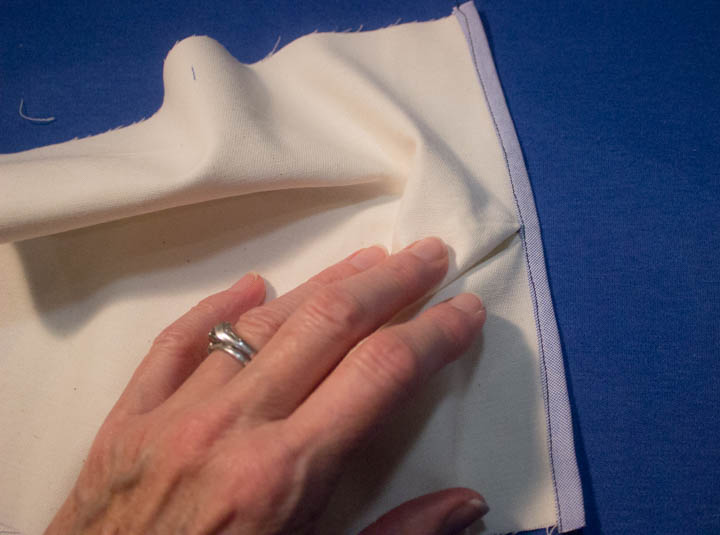
5. Using a 1/4″ SA, stitch the placket to the sleeve. Try really, really hard not to catch any little tucks or extra folds in the center of the placket. It kinda looks like I stitched a tuck into my seam, but….
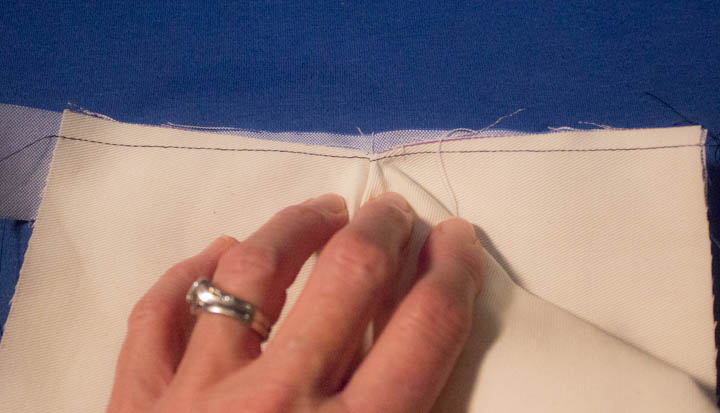
…when you look at it this way, all is well!
6. Press 1/4″ SA on the other side of the placket strip, and also press the sewn edge of the placket strip toward the center of the strip.
7. Fold the placket strip to the wrong side so it completely covers your first line of stitching, and glue baste in place. This ensures it will be completely caught when you flip it over and stitch. You might have to trim the seam allowance from your first stitching if it is too bulky.
8. From the right side, edgestitch on the placket strip. I like to use my edgestitch foot, and on my machine I move the needle 2 positions to the right. Be sure to test this: you want the stitching verrrrrry close to the edge, so the needle position may be different on your machine.
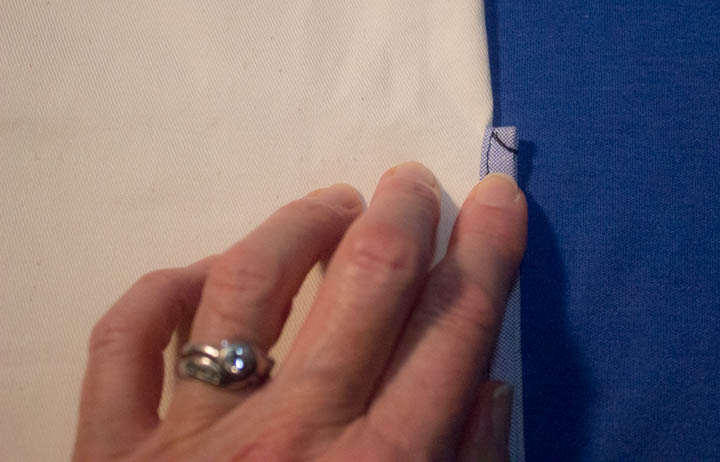
9. From the inside, fold the placket strip in half, and stitch diagonally across the end. (Be sure to backstitch at both ends – which basically means you start in the middle, backstitch to one end and then stitch across diagonally to the other, and finally back up again to the middle!)
See how one side of the placket lays smoothly on top of the other from the right side? That’s the magic of the diagonal stitching. 😉
Your placket is done, and now all you have to do to prep the bottom of the sleeve for the cuff is fold and press the pleats in place. Nice work!
Happy sewing!
Maris