Shirt collars are easy peasy. Truly. They are the kind of sewing you can do even when you are a little tired, or possibly even when you are drinking an adult beverage. Not that I ever bring one of those into my sewing studio, but I hear some do.
OK, let’s do this. If you altered your pattern as I suggested for a one-piece collar, then your construction process is slightly different than the Archer pattern instructions. Oh, and you did already apply all your interfacing including the collar pieces, right? 😉 Let’s go over the 1-piece collar construction first (Duh. Cuz it’s better!).
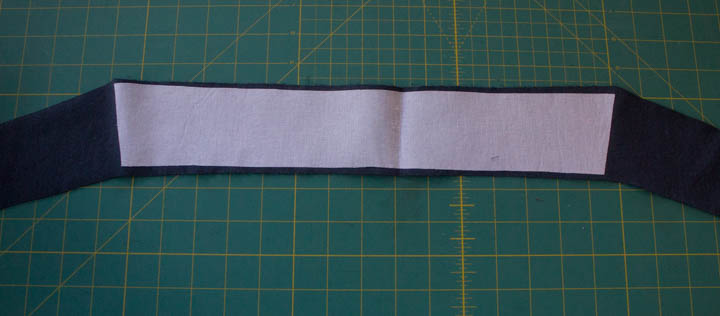
1. Stitch the collar center back seam, RS together. Make sure pull you make the under collar slightly smaller than the upper collar, which means you could trim a bit off the CB seam, or you could take a slightly bigger seam allowance. Press the CB seam open.
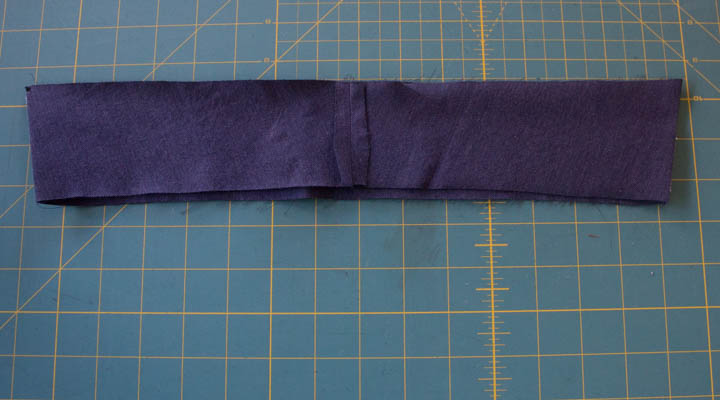
2. Press the collar, making sure the fold along the collar front edges is accurate and even.
3. Stitch across the collar edge, or lower edge, or whatever you want to call it. You are stitching from collar point to collar point. TIP: Do not backstitch here. Instead, reduce your stitch length to 1.0 or less to eliminate the stitches pulling out of the fabric. This is a place where backstitching can “draw up” your fabric and cause a wrinkle. Not good.
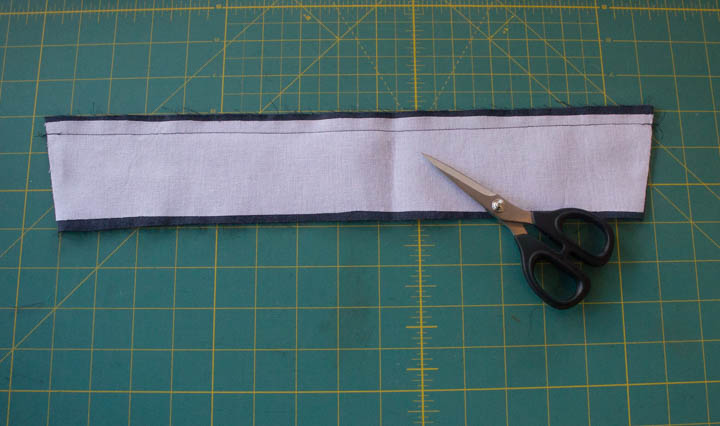
4. Trim the seam allowance, and be very assertive about trimming at the points. The less fabric you have in the collar point the better it will look from the right side. Also trim the interfacing very close to the stitching, especially if you use Pro-Woven Shirt Crisp. That awesome interfacing does not fold nicely with others, so I trim as much away as I can.

5. Now press the seam you just stitched open over a point presser. Yes, open first. You are trying to get that seam as flat as possible before pressing into the final shape.
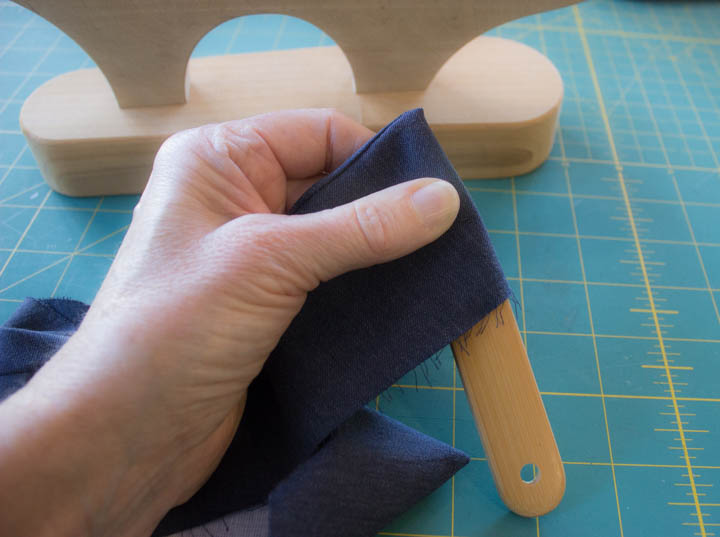
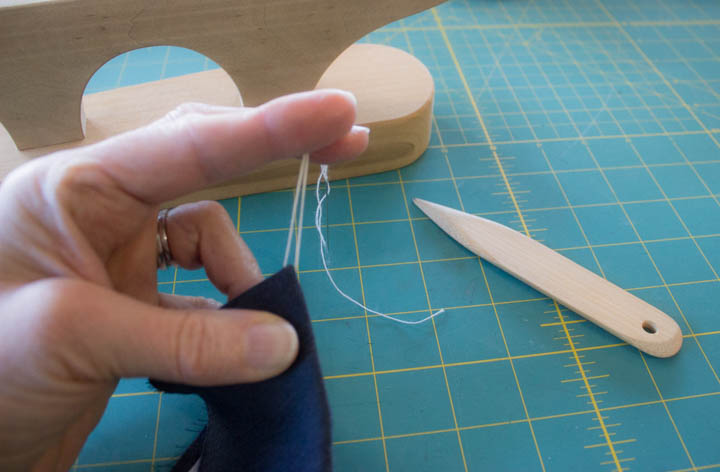
6. Turn the collar right side out, and use a point presser to get into the corners as much as possible. Another great tip is using a threaded needle (no knot!) and slip it into the seamline on either side of the corner. Pull gently to extend as much of the corner as possible.
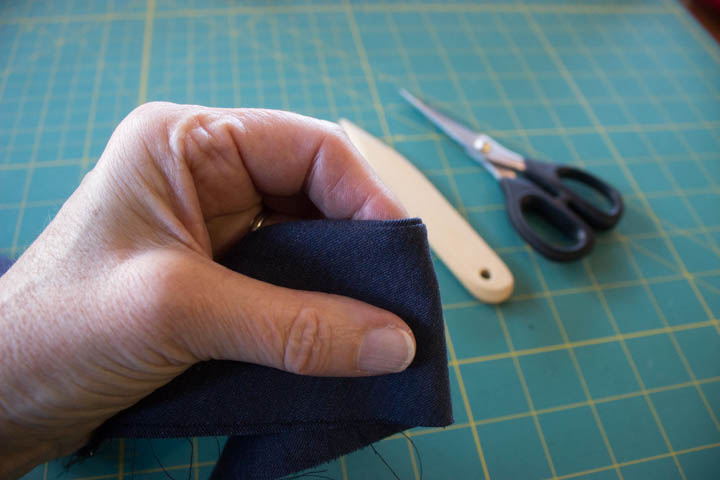
7. Now you are ready to press the collar. With the under collar side facing up, roll the stitched edge slightly so just a bit of the upper collar is visible on the under collar side. This is “favoring” the collar to the under collar side, and it means the stitched edge is not visible from the right side, which is what we want. After this pressing step, line up your collar points to make sure they are the same length. If not, trim them so they are identical. Nobody likes a lopsided collar!
8. Topstitch 1/4″ from the edge along the collar fronts and stitched edge, using whatever topstitching settings you have determined for your Archer. I like to use my 1/4″ or Jeans foot for this topstitching job, but whatever works for you to get an accurate 1/4″ stitching line.

9. Now just press the finished collar over a sleeve board or around a pressing ham, RS up, to build a nice curve into the collar shape.
If you decided not to use the one-piece collar for your Archer (what were you thinking!?!), all you need to do is place the under collar on the upper collar, RS together, and stitch around the sides and lower collar edge. Then you pick up starting with instruction 4 in the above steps. Also, when you are pressing the collar seams open, be sure to press the side edges open, too.
Now there is one thing I noticed about the Archer pattern I want to point out. The pattern includes a separate under collar pattern piece, and it is designed to be cut on the bias. All good. BUT. It should also be slightly smaller than the upper collar, so the “favoring” thingie is easier and doesn’t make your collar ripple and roll funny. So, if you are using the upper and under collar pattern pieces provided in the Archer pattern, my suggestion is to trim a bit from the under collar sides and lower edge. Leave the neck edge as is.
See? Nothing to it!
Happy sewing!
Maris