Adding a bit of piping in a seam is an easy way to give your finished garment some pizazz, and often a pop of color as well. I don’t really consider this to be a couture technique; tho some folks do. Really, it is easy. Just start by including it in a straight seam rather than something curved like a collar, and then after you get the hang of it you can go crazy.
Midriff bands or waist seams are no-brainer locations for piping. I naturally had to jazz up my DD’s Jenny Dress with some hot pink piping. The women in our family are not of the shrinking violet variety. 😉

In this tute I am going to show you how to make only a short length of bias—using the strip piecing method. If you need yards of bias, Rachel on Coletterie has a lovely tutorial on making continuous bias tape. I want to focus here on how you add piping—either that you make yourself or purchase ready-made—into a seam for a polished, RTW detail in your garment seams!
So let’s just get down to it!
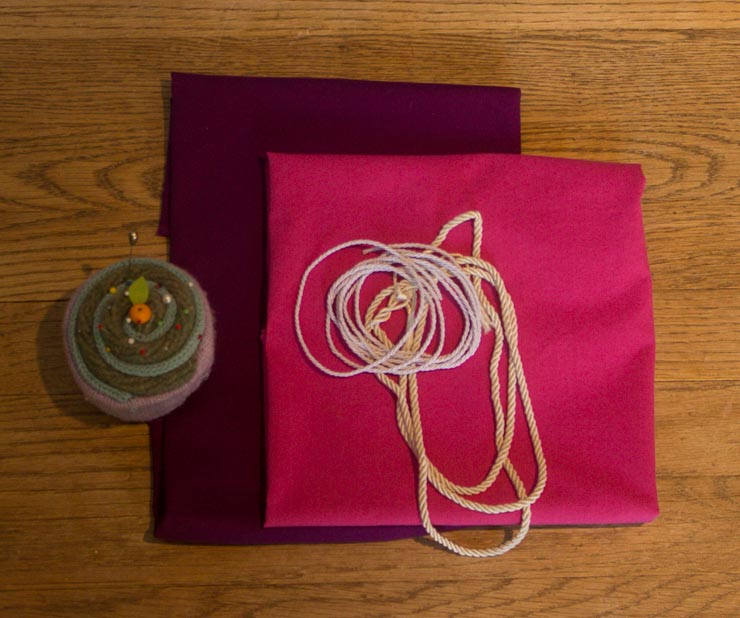
Supplies:
- 1/3 yard or more of fabric
- Cording of the desired circumference for your finished piping (I used the skinny 1/8″ cording not the fatty stuff in the pix above)
- Ruler
- Marking tool (Frixion pen, Chakoner, etc)
Determine Strip Width
This is your story problem for the day. See, you DO use math after you graduate. 😉
- Measure the width of your cording (mine was 1/8 inch).
- Double the width of your cording for the “wrap” circumference. (2 x 1/8 = 1/4)
- Double the desired seam allowance (2 x 1/2 =Â 1)
- Add the wrap circumference and the doubled seam allowance to determine the strip width. (1/4 + 1 = 1 1/4 inch strips)
Make the Piping
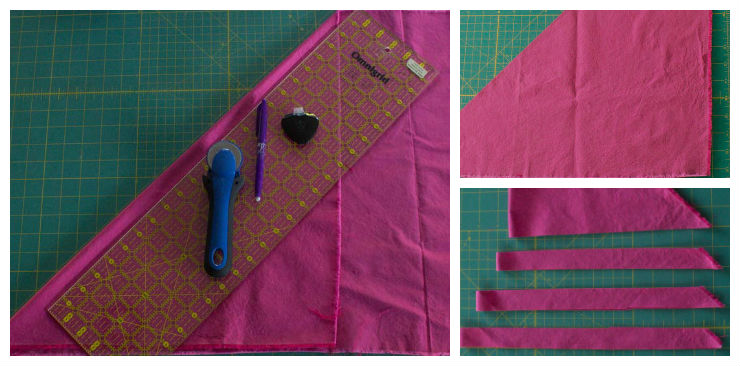
1. Press or mark a line at a 45° angle to the selvage edge of your fabric.
2. Cut on the marked line, being careful to cut straight and not stretch the bias edge of the fabric.
3. Cut several strips the “calculated strip width” as determined in step 4 above. (Hint: I never figure out the number of strips I need beforehand, but if you are extra math-nerdy you might want to do this. I just stitch up a few and then measure it against my seams to see it I need to add another strip or two.)

4. Right sides together, place one strip perpendicular to another. Mark a diagonal line from 1 short edge to the other short edge of your strips.
5. Stitch along the marked line, and trim the seam allowance to no more than 1/4 inch. Press open.
6. Continue as in step 5 above until your strip is at least a few inches longer than the seam the piping will be inserted into.
7. Fold the pieced bias strip over the cording, wrong sides together.
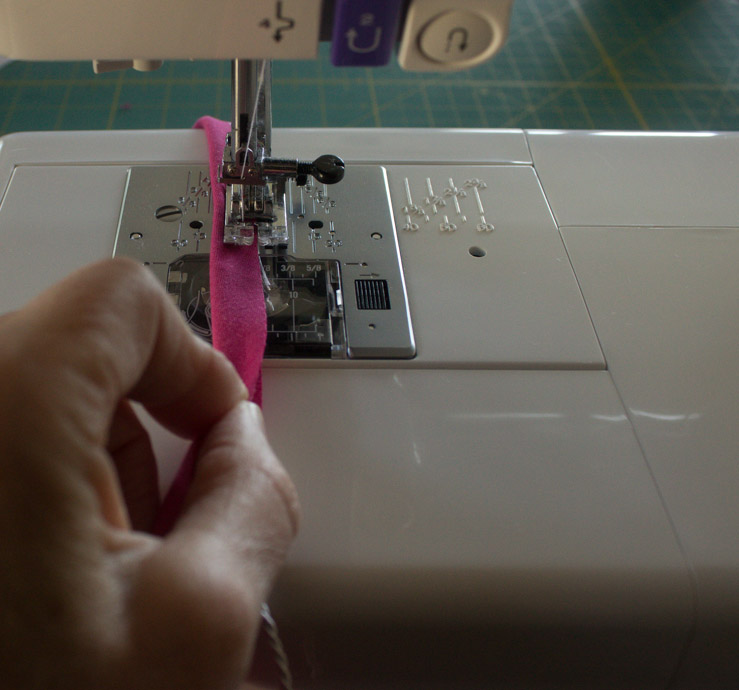
8. Using your regular presser foot, stitch with the left side of the presser foot against the cording. Do NOT worry that the stitching is not close enough to the cording; you are going to stitch this piping 2 more times before you are done, and the last stitching will be snuggied right up against the cord. Trust me!
Insert the Piping into your Garment

- Place your be-a-yoot-y-ful piping on the right side of whatever it is going to be stitched to. In my example, I stitched the piping to the midriff piece rather than the skirt or bodice sections. (Hint: It is not impossible to stitch piping to gathered fabric, but it is certainly harder than stitching it to a flat piece of fabric.) Pin in place, or be bold and don’t. 😉
- Move your needle 1 or 2 positions closer to the piping than your original stitching in step 8 above, and stitch the piping to the garment section. (Hint: Same as before—do not try to get right up against the cording. This stitching is navy in the image above, and the white thread is from step 8 in the Make the Piping section)
Now all you need to do is just finish your garment construction per your pattern instructions. In my example, the piping was stitched to the top edge and the bottom edge of the midriff section, so the next steps were to stitch the bodice and skirt pieces to the piped midriff section.
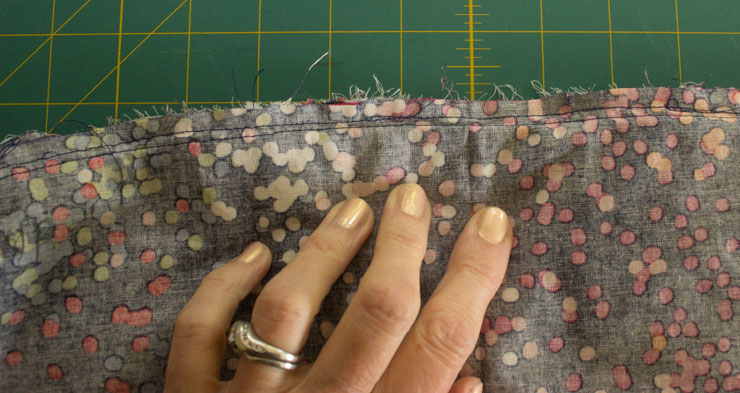
3. Right sides together, lay the remaining garment piece (skirt, in my example) on the piped piece (midriff, in my example). Pin and stitch on the piped fabric side (in my example, on the midriff) so you can see where to stitch a bit closer to the piping. In the image above my final stitching is closer to my fingertips, and the stitching that applied the piping to the midriff is closer to the raw edge.
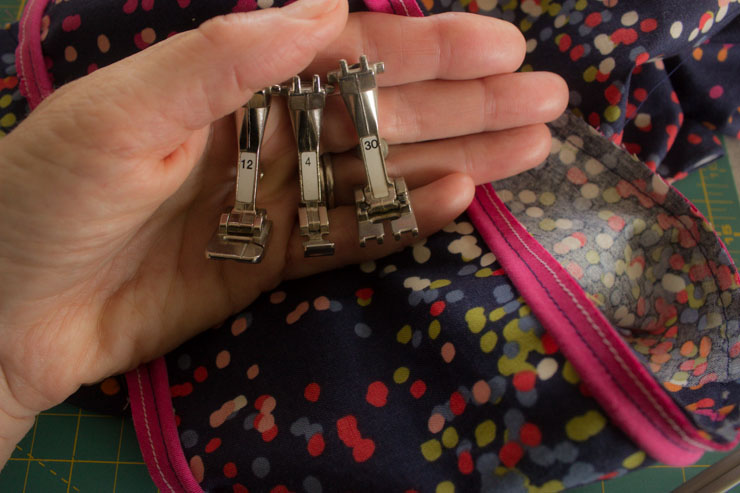
Hint: A bulky cording foot is super helpful here if you have one, or a 3-tuck pintuck foot can work too. If you use a zipper foot you are going to have to pay attention and keep your stitching as close as possible to the piping.
4. Flip your garment to the right side, and check that your piping looks an even circumference for the entire seam length. Make any necessary adjustments—meaning, stitch a little closer or make friends with your seam ripper rip a bit and stitch again.

Now that wasn’t so bad was it? And look at what a difference it makes in the finished product!
Happy sewing!
Maris