Snapdragon Studios asked me to review their Weekend Rambler Skirt pattern recently, and I decided this was a great opportunity to make a cute skirt for my DD to wear to work.

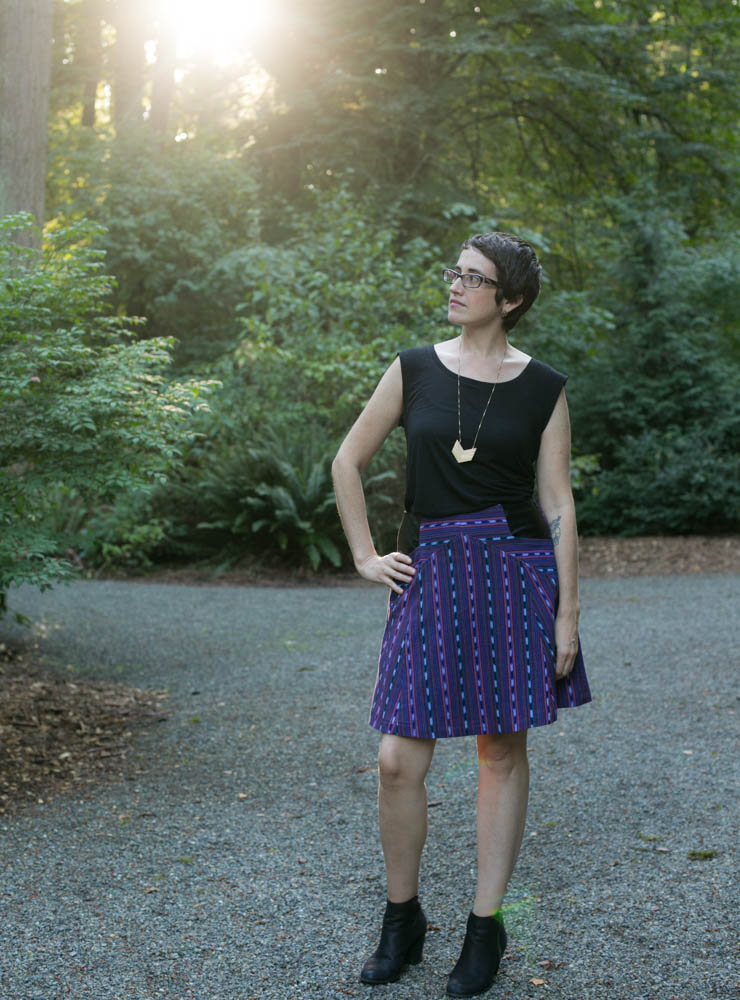
She selected a purple Guatemalean ikat cotton from my stash, which was a nice weight for the skirt. The pattern suggests cotton, linen, wool or corduroy, and I think any of those would work equally well, as long as the wool was fairly lightweight.
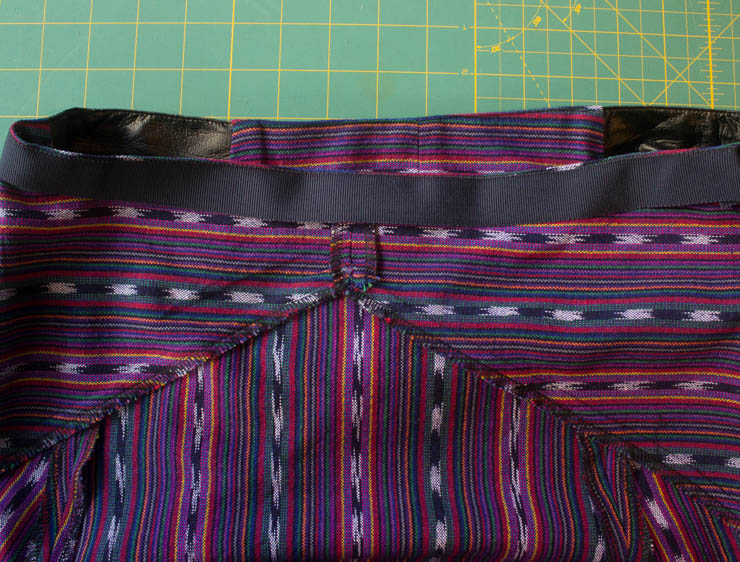
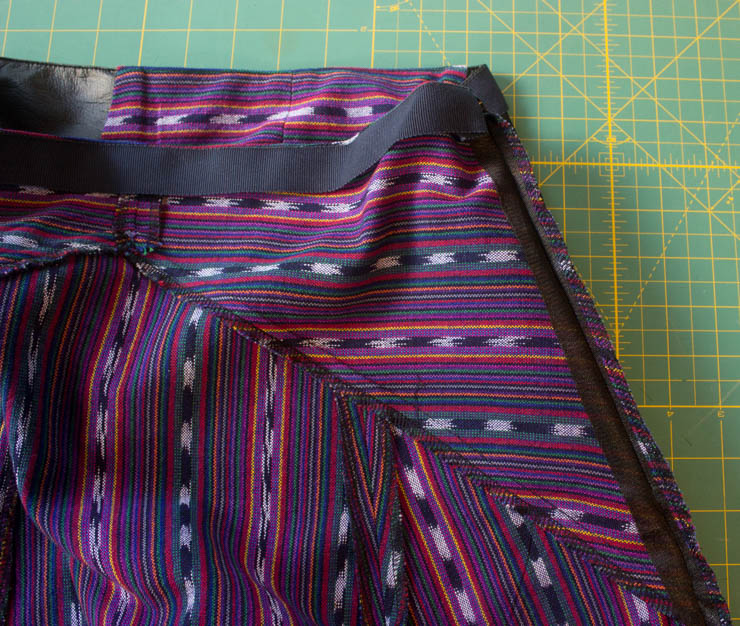
I constructed the pattern as designed, with one exception. I used a Petersham ribbon to finish the waistband edge, rather than the facing that was provided in the pattern. No real reason, I just thought this finish treatment would be simple and a bit quicker to construct than a waistband facing. I also serged all the seams as the fabric was on the ravelly side.
Pattern Design:Â B
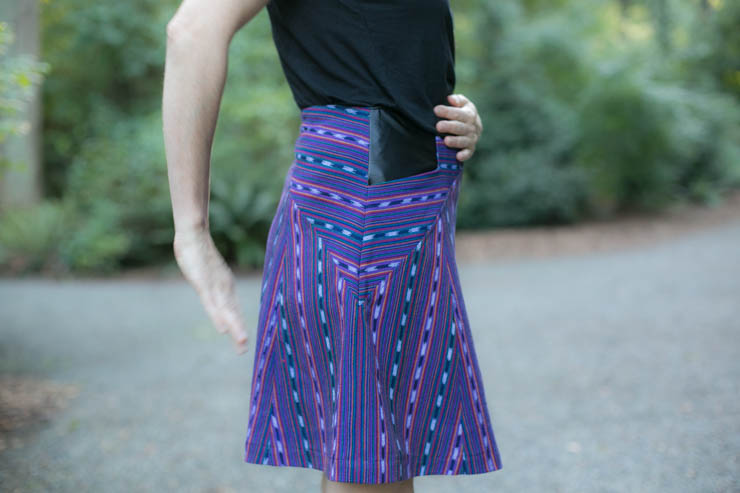
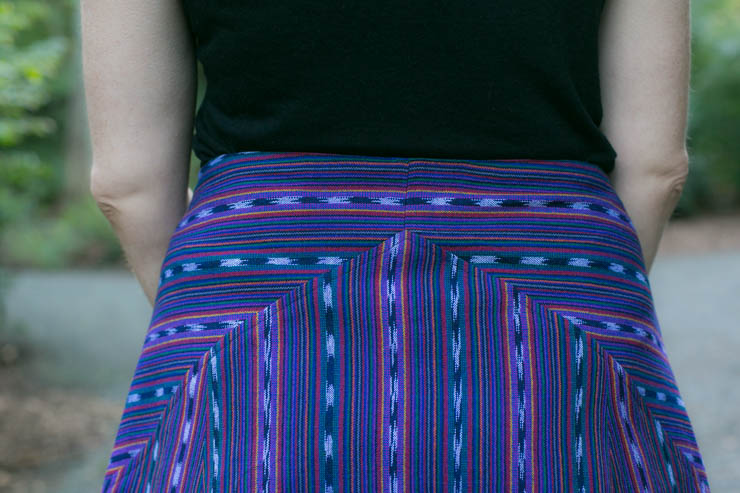
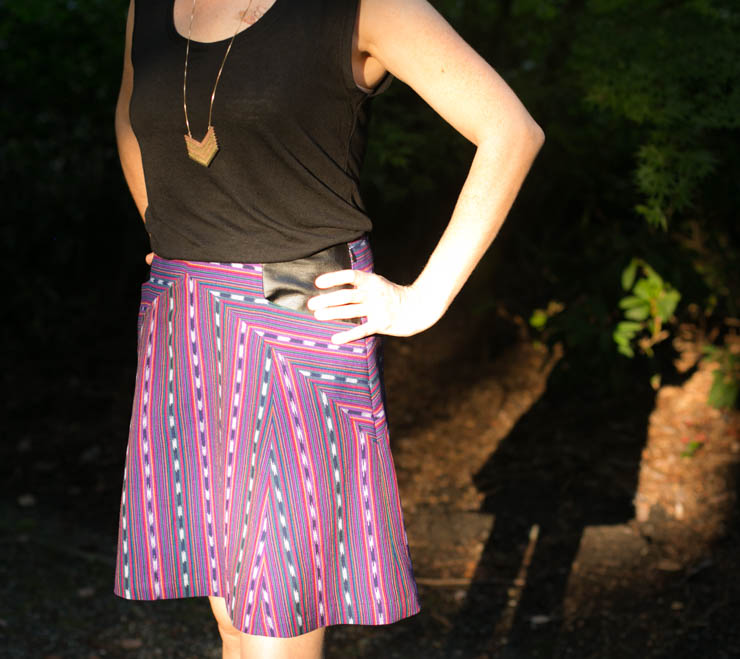
Cute, fresh, and modern-looking skirt design. With the interesting yoke and skirt seamlines there is plenty of opportunity to create a unique garment. Since I used a stripey, ikat fabric, I was able to place the yokes on the crossgrain to create some visual interest. My my DD requested some leather accents too, so I used a faux leather fabric for the pocket, and she ended up loving the finished skirt. I agree with her—I think my version definitely turned out cute!

The Weekend Rambler is designed to sit below your natural waist, and the suggestion for a “waist fitted skirt” is to select a smaller size. Hmmm. My very subjective reason this pattern rated a B for design is because I personally really dislike skirts that sit below the natural waist—they slither all around my body—and that just drives me nuts. A lower waistline is OK in pants (for obvious reasons), but I think it works less well in a skirt.
Also, there are no darts to improve/fiddle with the waistline fit of this skirt. The shaping is handled by pushing the darts into the yoke, but a “real” dart would help those who have more differentiation between waist and hip circumferences.
PDF Download:Â B+
All was well. I think PDF downloads are very successful for simpler patterns such as this. The less assembly/aligning the better, I say! Â I thought the button alignment mark was a cute touch, although on a download with more sheets of paper to contend with some kind of numbering scheme is helpful to make sure you are matching pages correctly. I had no problems with this pattern, though.
Pattern Drafting: A-
Overall this pattern fit together well. The one exception was the pocket area.
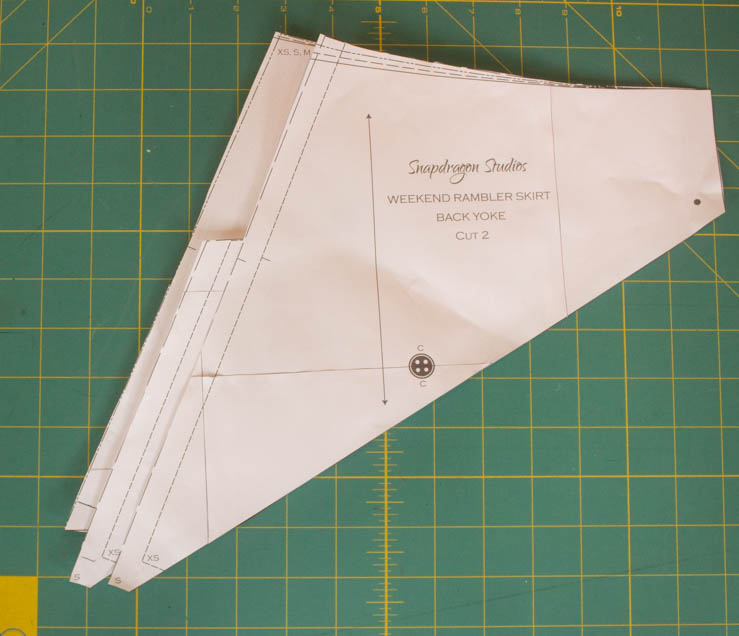
In the above image the pattern pieces are layered with the pocket on the mat, then the front yoke in the middle, and finally the back yoke on top. You can see the front yoke (middle pattern piece) is missing an alignment notch, and I also found the drafting to be slightly off in this area. The pocket and front yoke don’t line up perfectly after construction with the back yoke; although some of the extra length on the side of front yoke is handled during construction by the pocket lining seam. The discrepancy is not large, but I did have to do a little fiddling to get this part of the skirt lined up and looking smooth. Probably didn’t help that I was trying to match the stripes too.
With the one exception noted above, each pattern piece fit properly to its intended mate.

Pattern Sizing: A-
I only have a sample of 1, but the basic fit dimensions of this pattern were pretty good. I used the size small which corresponded best to my daughter’s measurements, and graded the waist just slightly larger. I could have done a muslin and fiddled around to get a slightly better fit for her body shape, but in general the fit worked out quite well.
Pattern instructions:Â C
Sigh. Many indie pattern makers today write their instructions in a conversational tone, rather than a more technical, instructional format. Personally, this drives me batty. Too.Many.Words. Small sentences. Short words. Bulleted lists. Numbered lists. It is all about clarity.
Many less experienced sewists seem to prefer more words, but IMHOÂ it just obscures the critical information. My ideal pattern instructions would be a simple numbered list of steps/short instructions for the experienced sewists, and possibly accompanied by a “wordier” set for those with less sewing experience. That should keep everyonemore people happy, right?
Also, visuals. There are only a few hand-drawn pictures in this pattern. I think the quality and number of visuals could be increased dramatically, which might also reduce the need for so.many.words. 😉
<begin rant> And one more complaint that applies (I think) to every pattern I have every read. Why don’t they suggest applying strips of fusible interfacing to the seam allowance before inserting the zipper? Stabilizing the fabric really helps with a smooth zipper insertion. Now that would actually be a useful piece of information in instructions. <rant over>
Overall: B
I like this skirt pattern, and think it has some interesting design lines to “brighten up” the A-line skirt silhouette.
Have you ever sewn a Snapdragon Studios design? Have you made the Weekend Rambler Skirt? I’d love to hear what you think of this pattern. And yay for indie designers!!
Happy sewing!
Maris