Yeah, you know what I’m talking about. Your coverstitch hem stitching looks like Lombard Street in San Francisco. Your neckline served as an excellent crumb catcher at a cocktail party hosted by your husband’s new boss. What the H is the problem!?! Knits are fast and easy, right?
Yes. And no. In my opinion, the basic construction of a Tee is fast and easy. But your finishing details can spell Becky-Home-Ec-y in a heartbeat.
I made 3 Tees last night; two sleeveless tanks from Pamela’s Patterns Versatile Twinset, and a long-sleeved Tee using Pamela’s Perfect T-Shirt pattern. Both of these patterns are TNT for me, and I am very happy with the fit of my previous versions. BUT. A few have some not-so-perfect-for-me issues. Little things. The kind of things no one would notice. Except possibly some of my ASG sisters. (I’m looking at you, Helen! . 😉
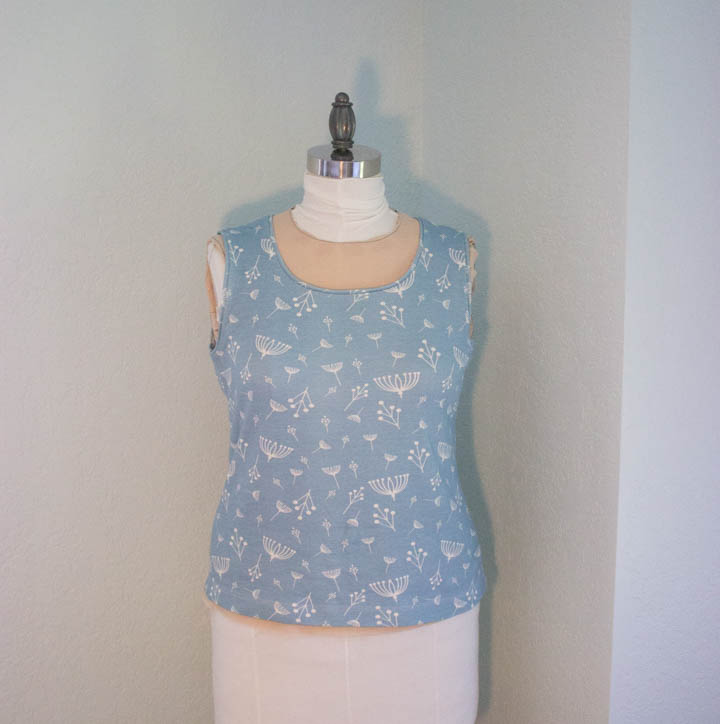
This sleeveless tank is made from Birch Fabrics Twigs organic cotton interlock. I don’t sew with interlock that often, but this fabric was a dream to work with. Zero complaints about the fabric, and I think the tank sewed up really nicely. Rather than turning the neck and armhole edge under as Pamela suggests, I added a narrow band finish. The armhole to binding ratio was 1:1, and the binding to neckline ration was approximately 7:8. I think I might have cut the armhole binding a smidge shorter, but the neckline ratio turned out pretty close to perfect.
The conventional wisdom for neckline: binding ratios is somewhere between 7:8 and 3:4. So basically not much better than a guess, huh? I can’t offer perfect precision, but I can say there are a couple of factors to keep in mind when deciding which ratio to use.
- If your fabric has lycra (i.e. great recovery), then do not get that binding too short. WARNING: CHOKING HAZARD.
- If you are using baby rib or some other very, very stretch fabric, even 3:4 might result in a gappy crumb catcher neckline. (Ask me how I know 😉
- Basting the completed ribbing to the neckline is a great way to test your ratio without ripping serger stitches. Just sayin’.
- Experiment with binding widths. Look at RTW. Narrow is often used in RTW, but is tougher to do really well in a very stretchy rib.

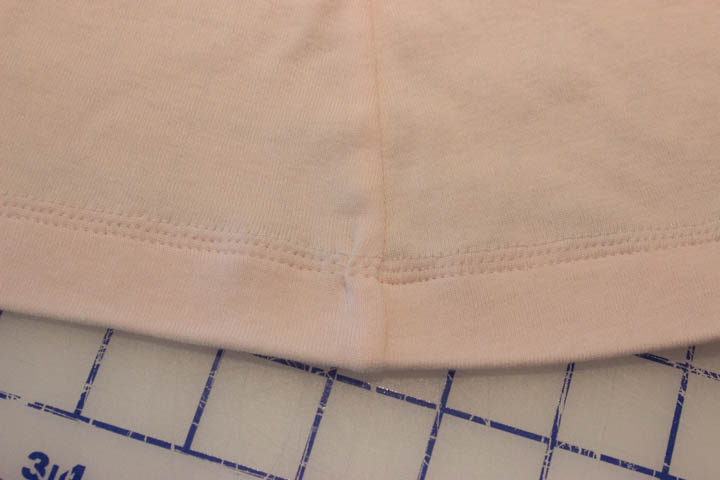
This little pink number is made from a cotton baby rib, and is super soft and yummy. And I Just.Love.Petal.Pink! LOVE it!
I stuck with the same narrow armhole bindings as the organic cotton T, but I did make sure the binding was shorter than the armhole length. The neck binding? I put that sucker on 3 times! The first mistake was that even a 3:4 ratio is too big on a stretchy rib knit. And the narrow binding that looked great on the interlock looked weird on ribbing. Yes, I ripped out serger stitches. The second attempt I cut a shorter and wider binding, and also made sure to apply the binding so the join was in the center front instead of center back. GRRRRRR! Bad words were uttered, and I ripped out serger stitches a second time. Note to self: Do.Not.Sew.Late.At.Night. Thankfully, the third time was the charm. Wider band and less than even a 3:4 ratio made sure the neckline was not gappy.
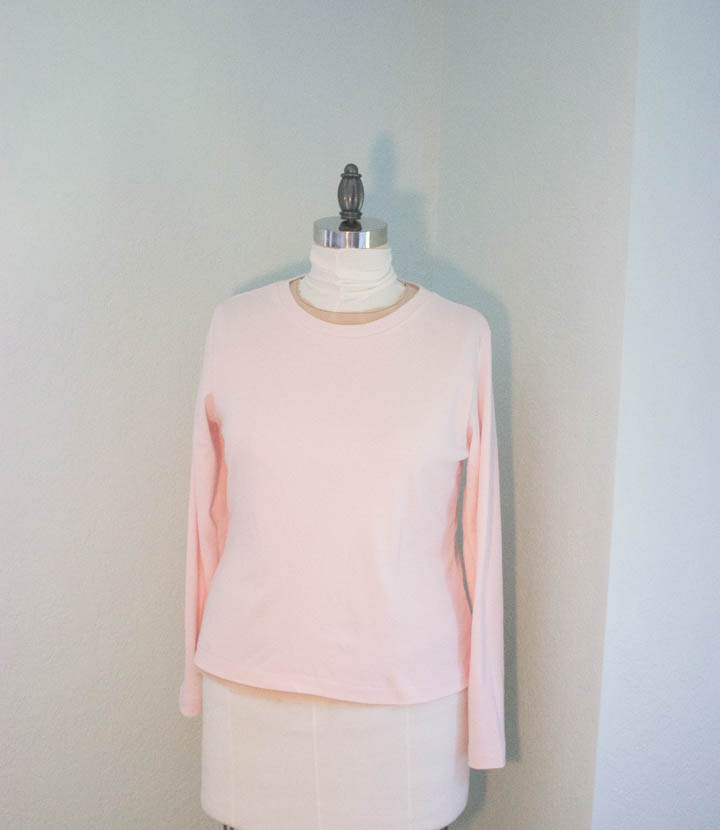
I had enough of the pale pink ribbing to also make a long-sleeved Tee. I even managed to apply my lessons from the tank neckline to the Tee neckline, and it was right the first time. But you can be sure I checked where that seam join was before I started serging. Twice. 😉
I noticed something on a RTW Tee belonging to my granddaughter. The binding on the armholes is applied before the side seams are stitched up, and then the side seam is stitched down with a straight stitch on a regular sewing machine. This straight stitching is only about 1 inch long, and is right at the armhole so it doesn’t show at all. That 1 inch of stitching really neatens up the serged seam at the armhole edge, and keeps everything tucked into place. Super easy and effective RTW technique combined with an easier/faster armhole binding process. You’re welcome!
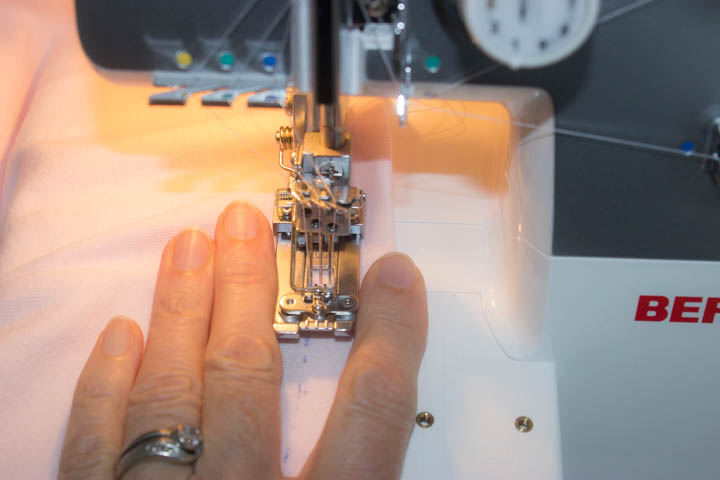
Now, shall we talk about hemming knits. Specifically, coverstitch hemming? Actually, that is a whole ‘nother post. Maybe a tute. Because I have lots to say about that process.
Happy sewing!
Maris